How they’re made
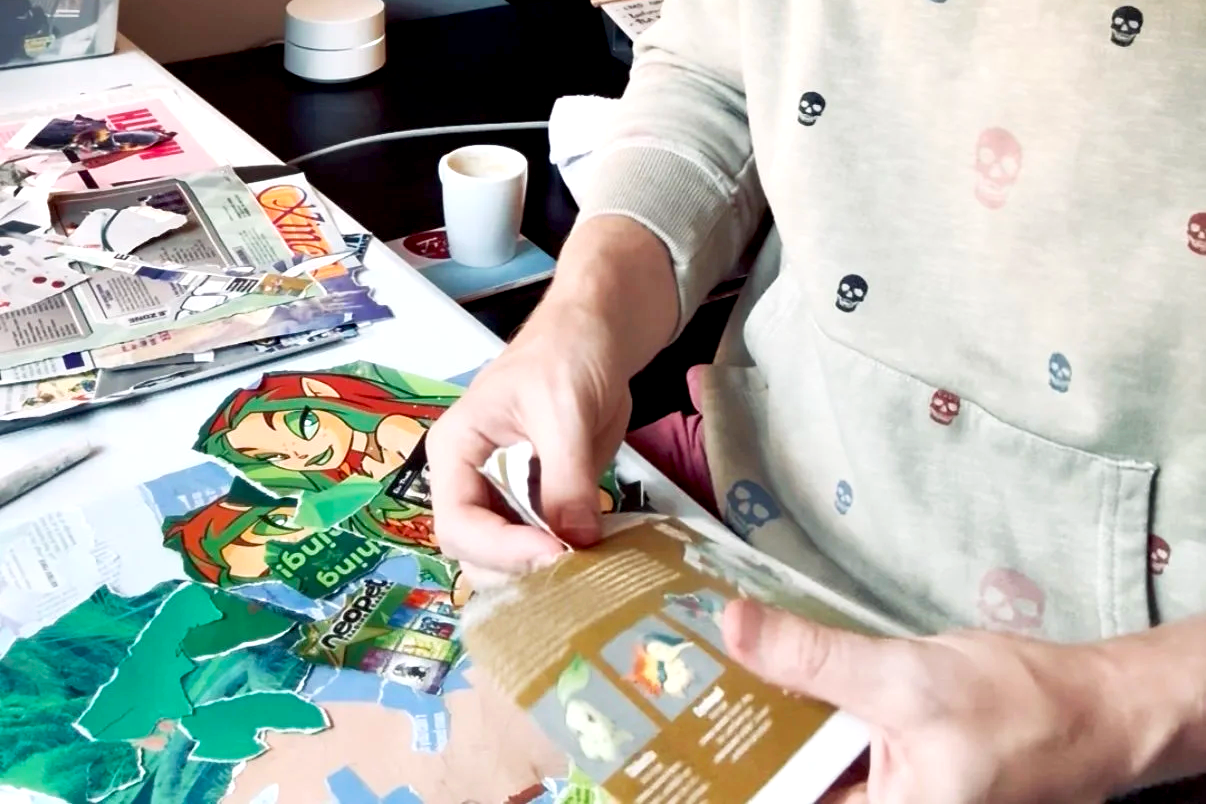
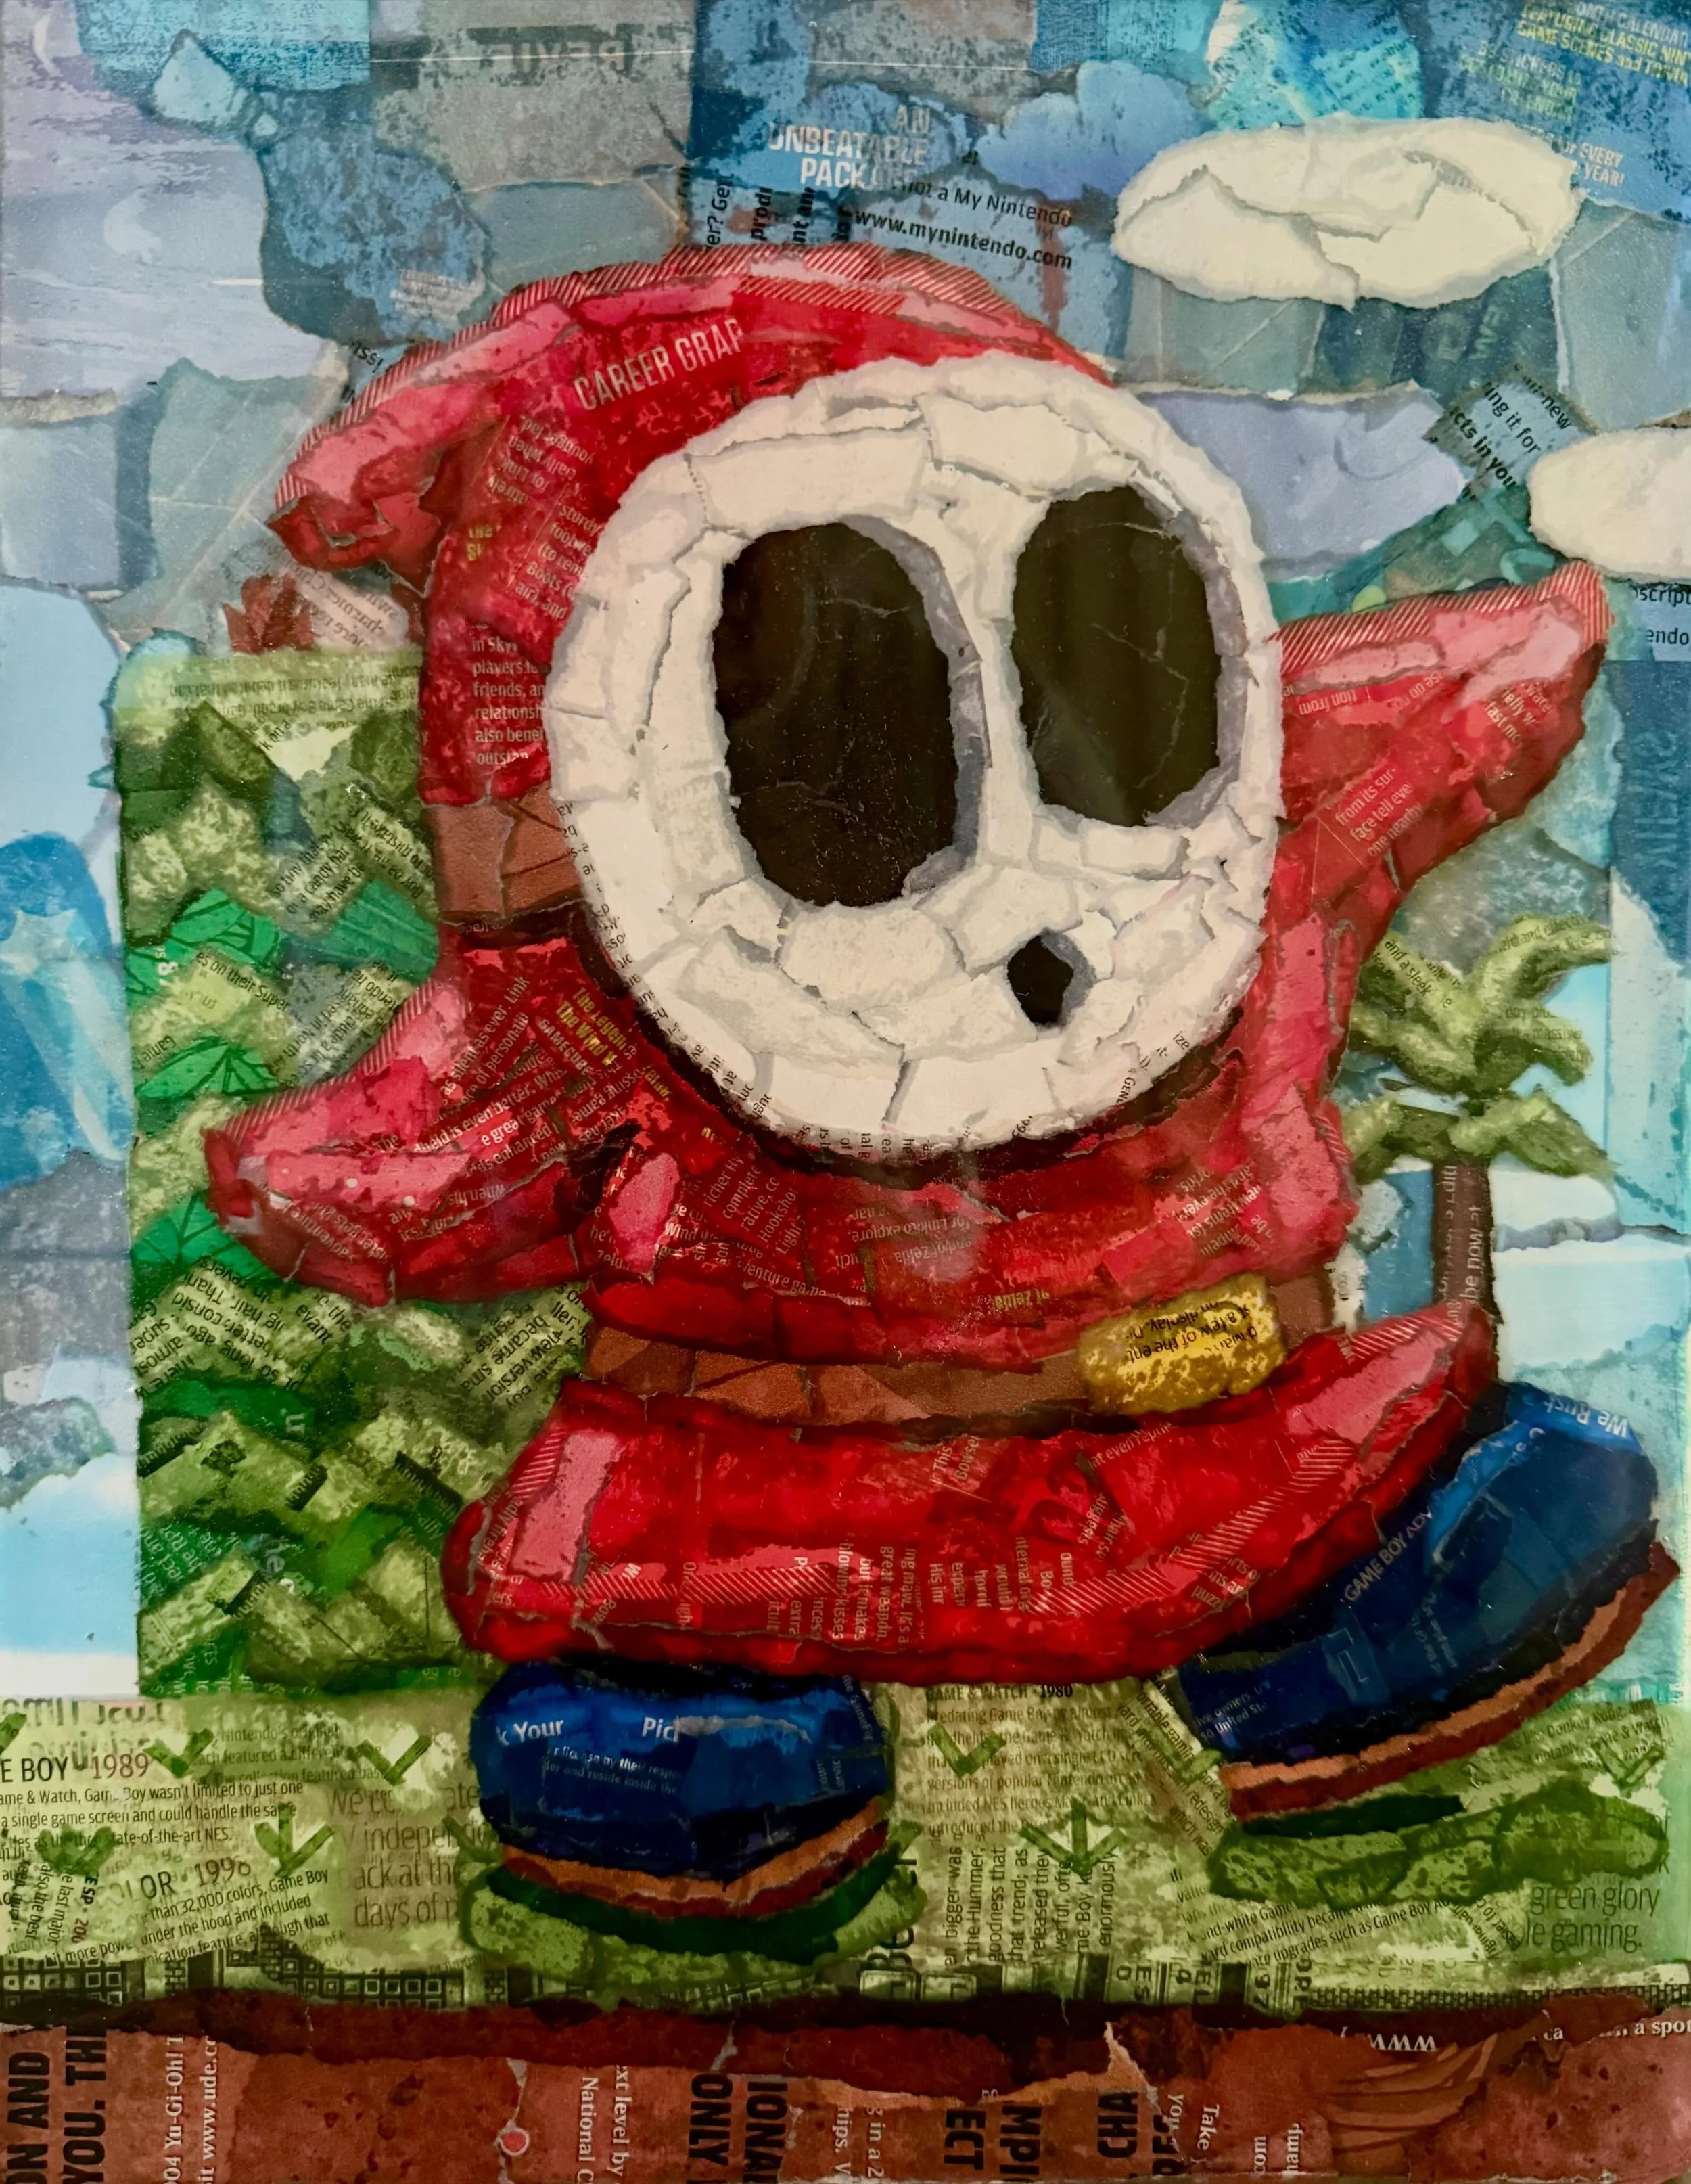
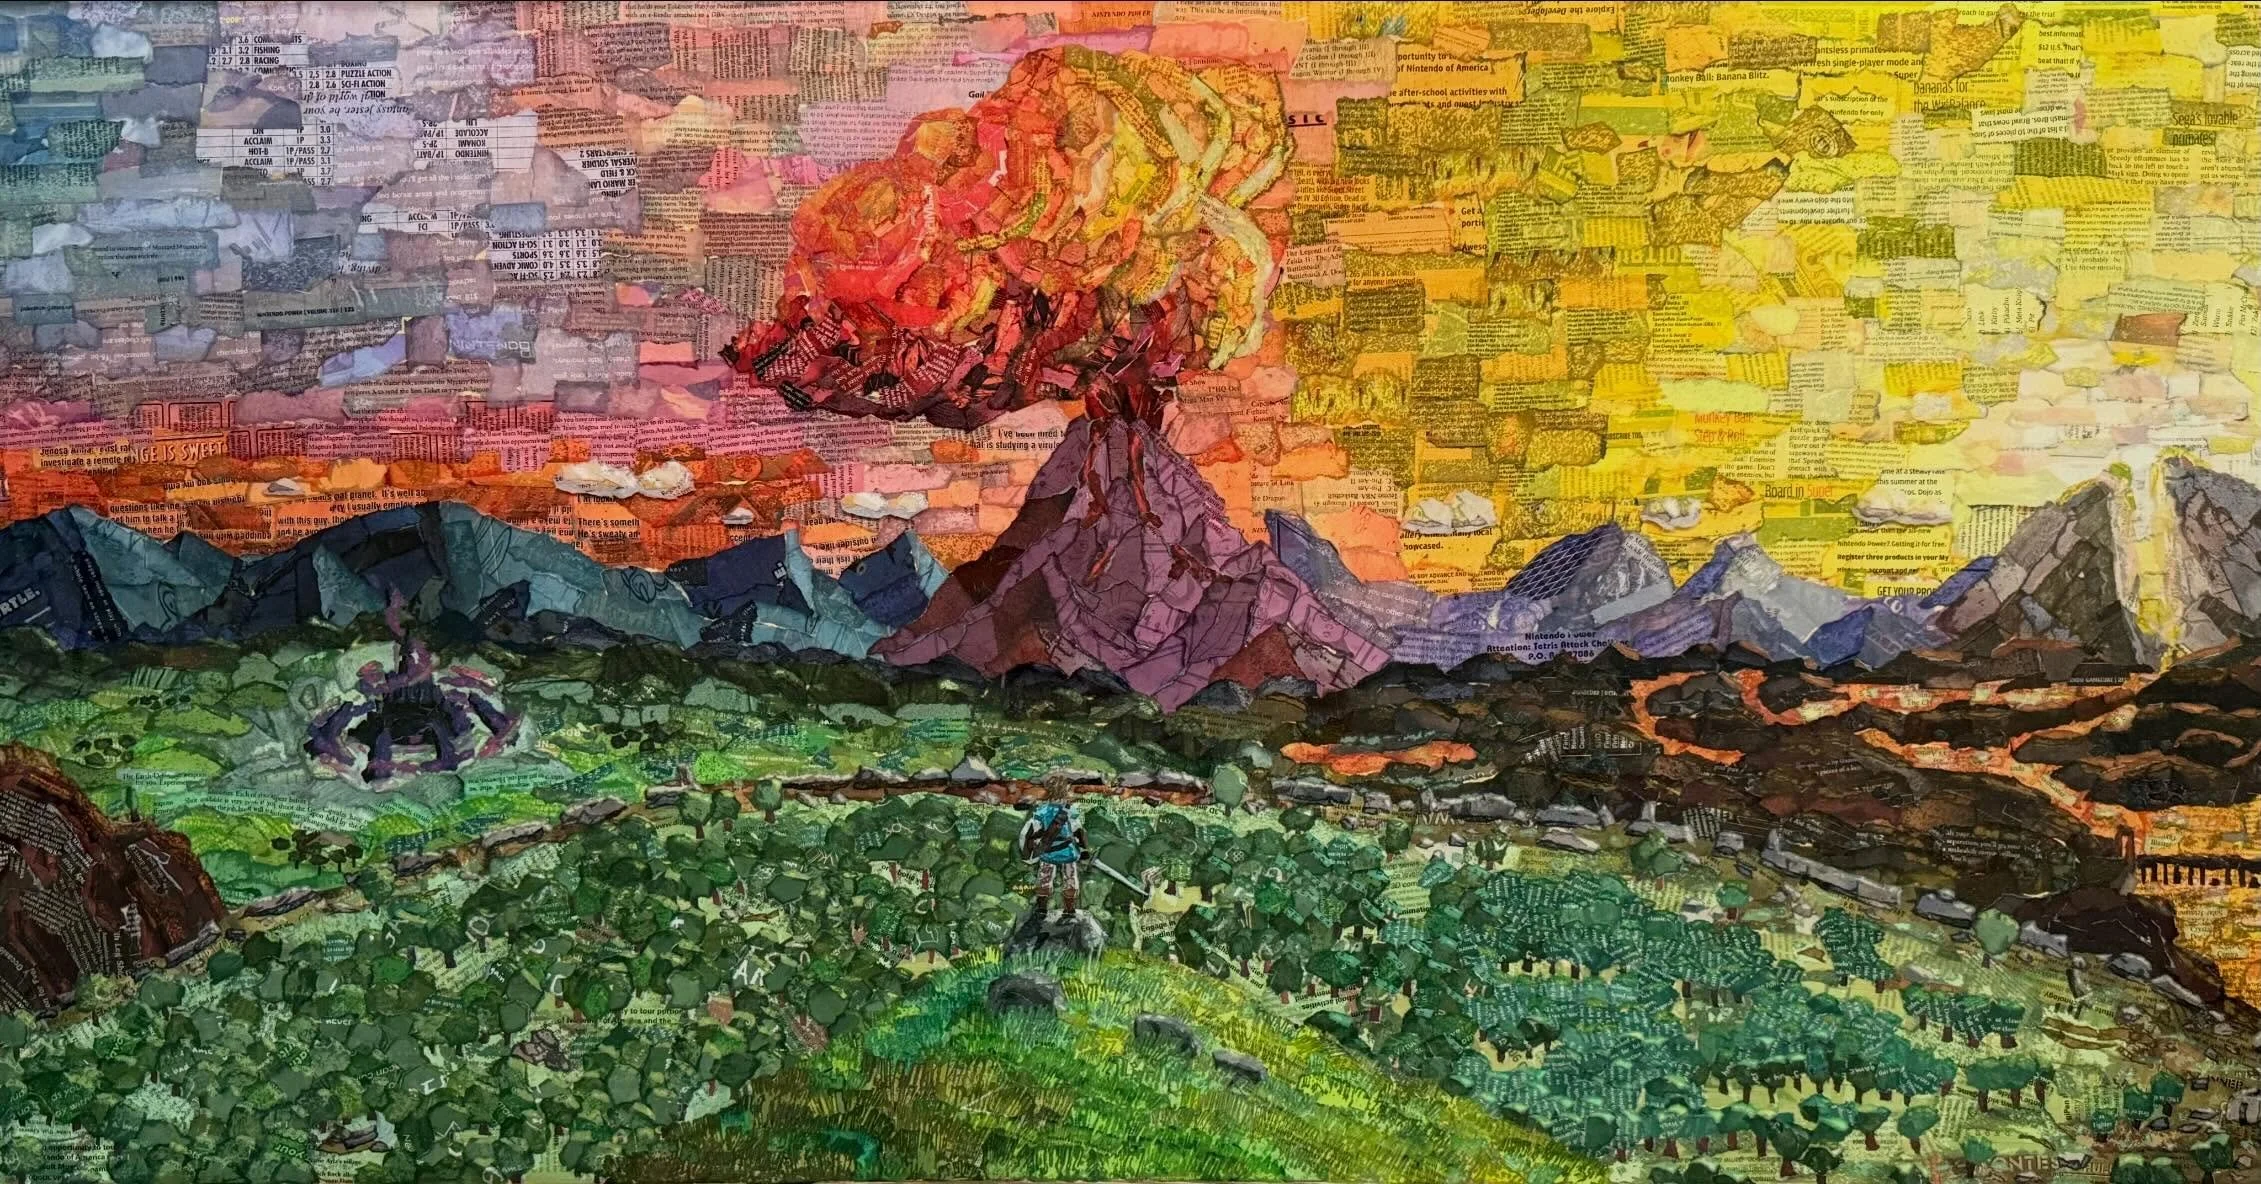
I grew up in the 80s and 90s with a controller in my hand - hours spent in the Mushroom Kingdom, wandering Hyrule, and getting to know characters that, decades later, still feel like old friends. That nostalgia is where most of these pieces start. Some collages come from a character I've always loved and simply want to spend more time with, piece by piece. Others begin somewhere more personal - a portrait made for someone in my life whose favorite character I know by heart, or someone who has always reminded me of one. Either way, every piece starts with real memory and real material — built from salvaged Nintendo Power magazines, transformed page by page into something new. The process below outlines how a single collage comes together, and how those collages then become prints.
The collage process
-
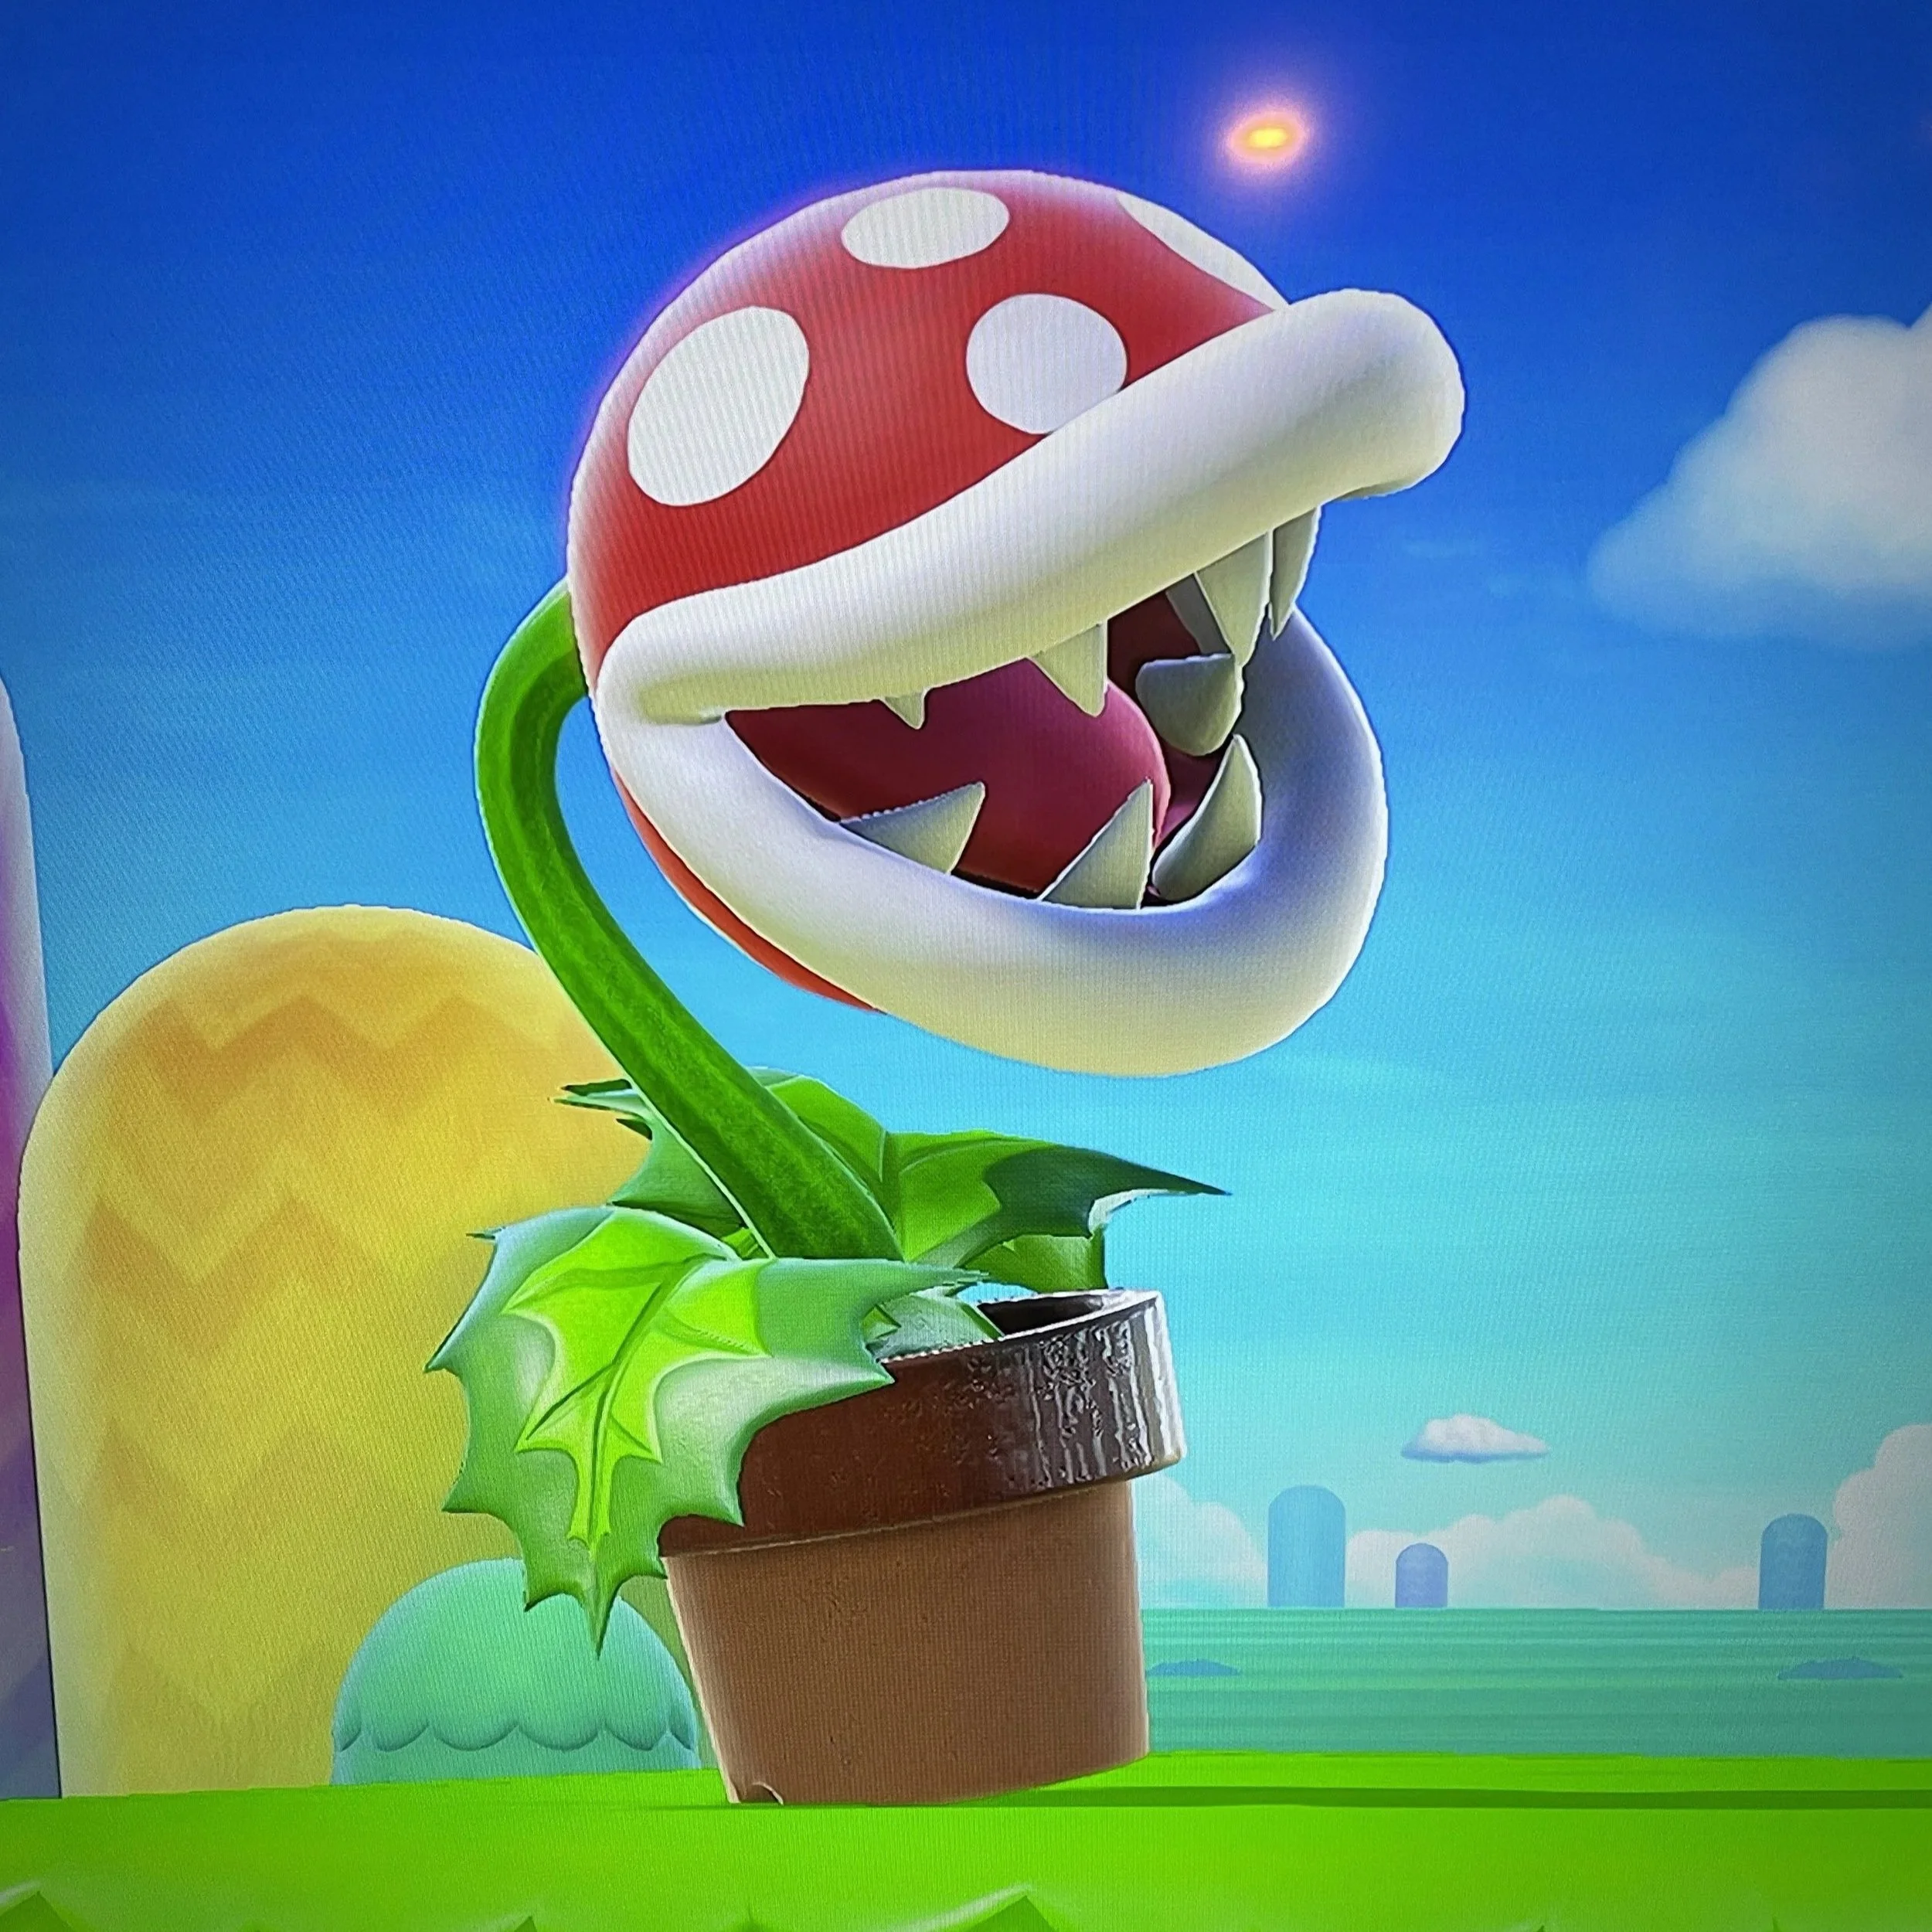
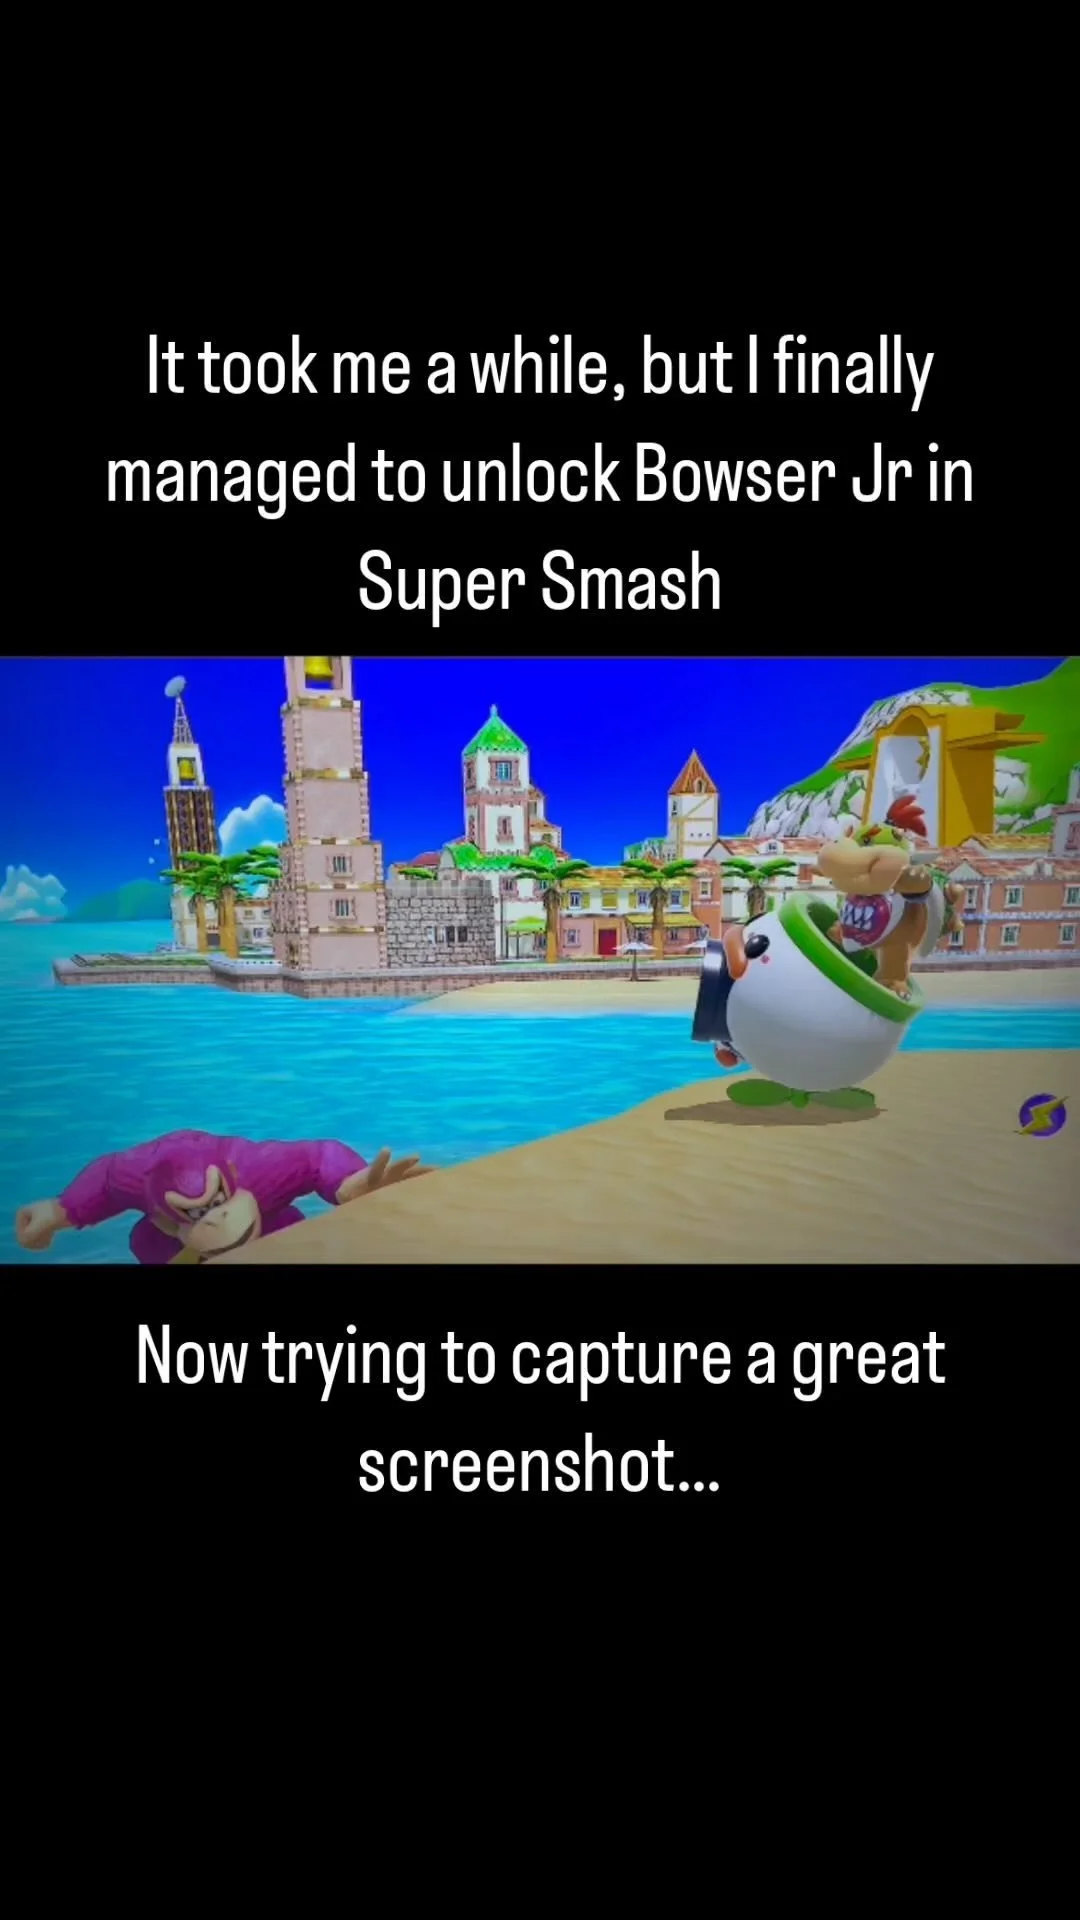
Find the shot
Every collage starts with a reference image - the single frame that will anchor the entire piece. Sometimes it's pulled directly from live gameplay footage; other times it's composed from scratch. Either way, this reference becomes the blueprint for everything that follows.
-
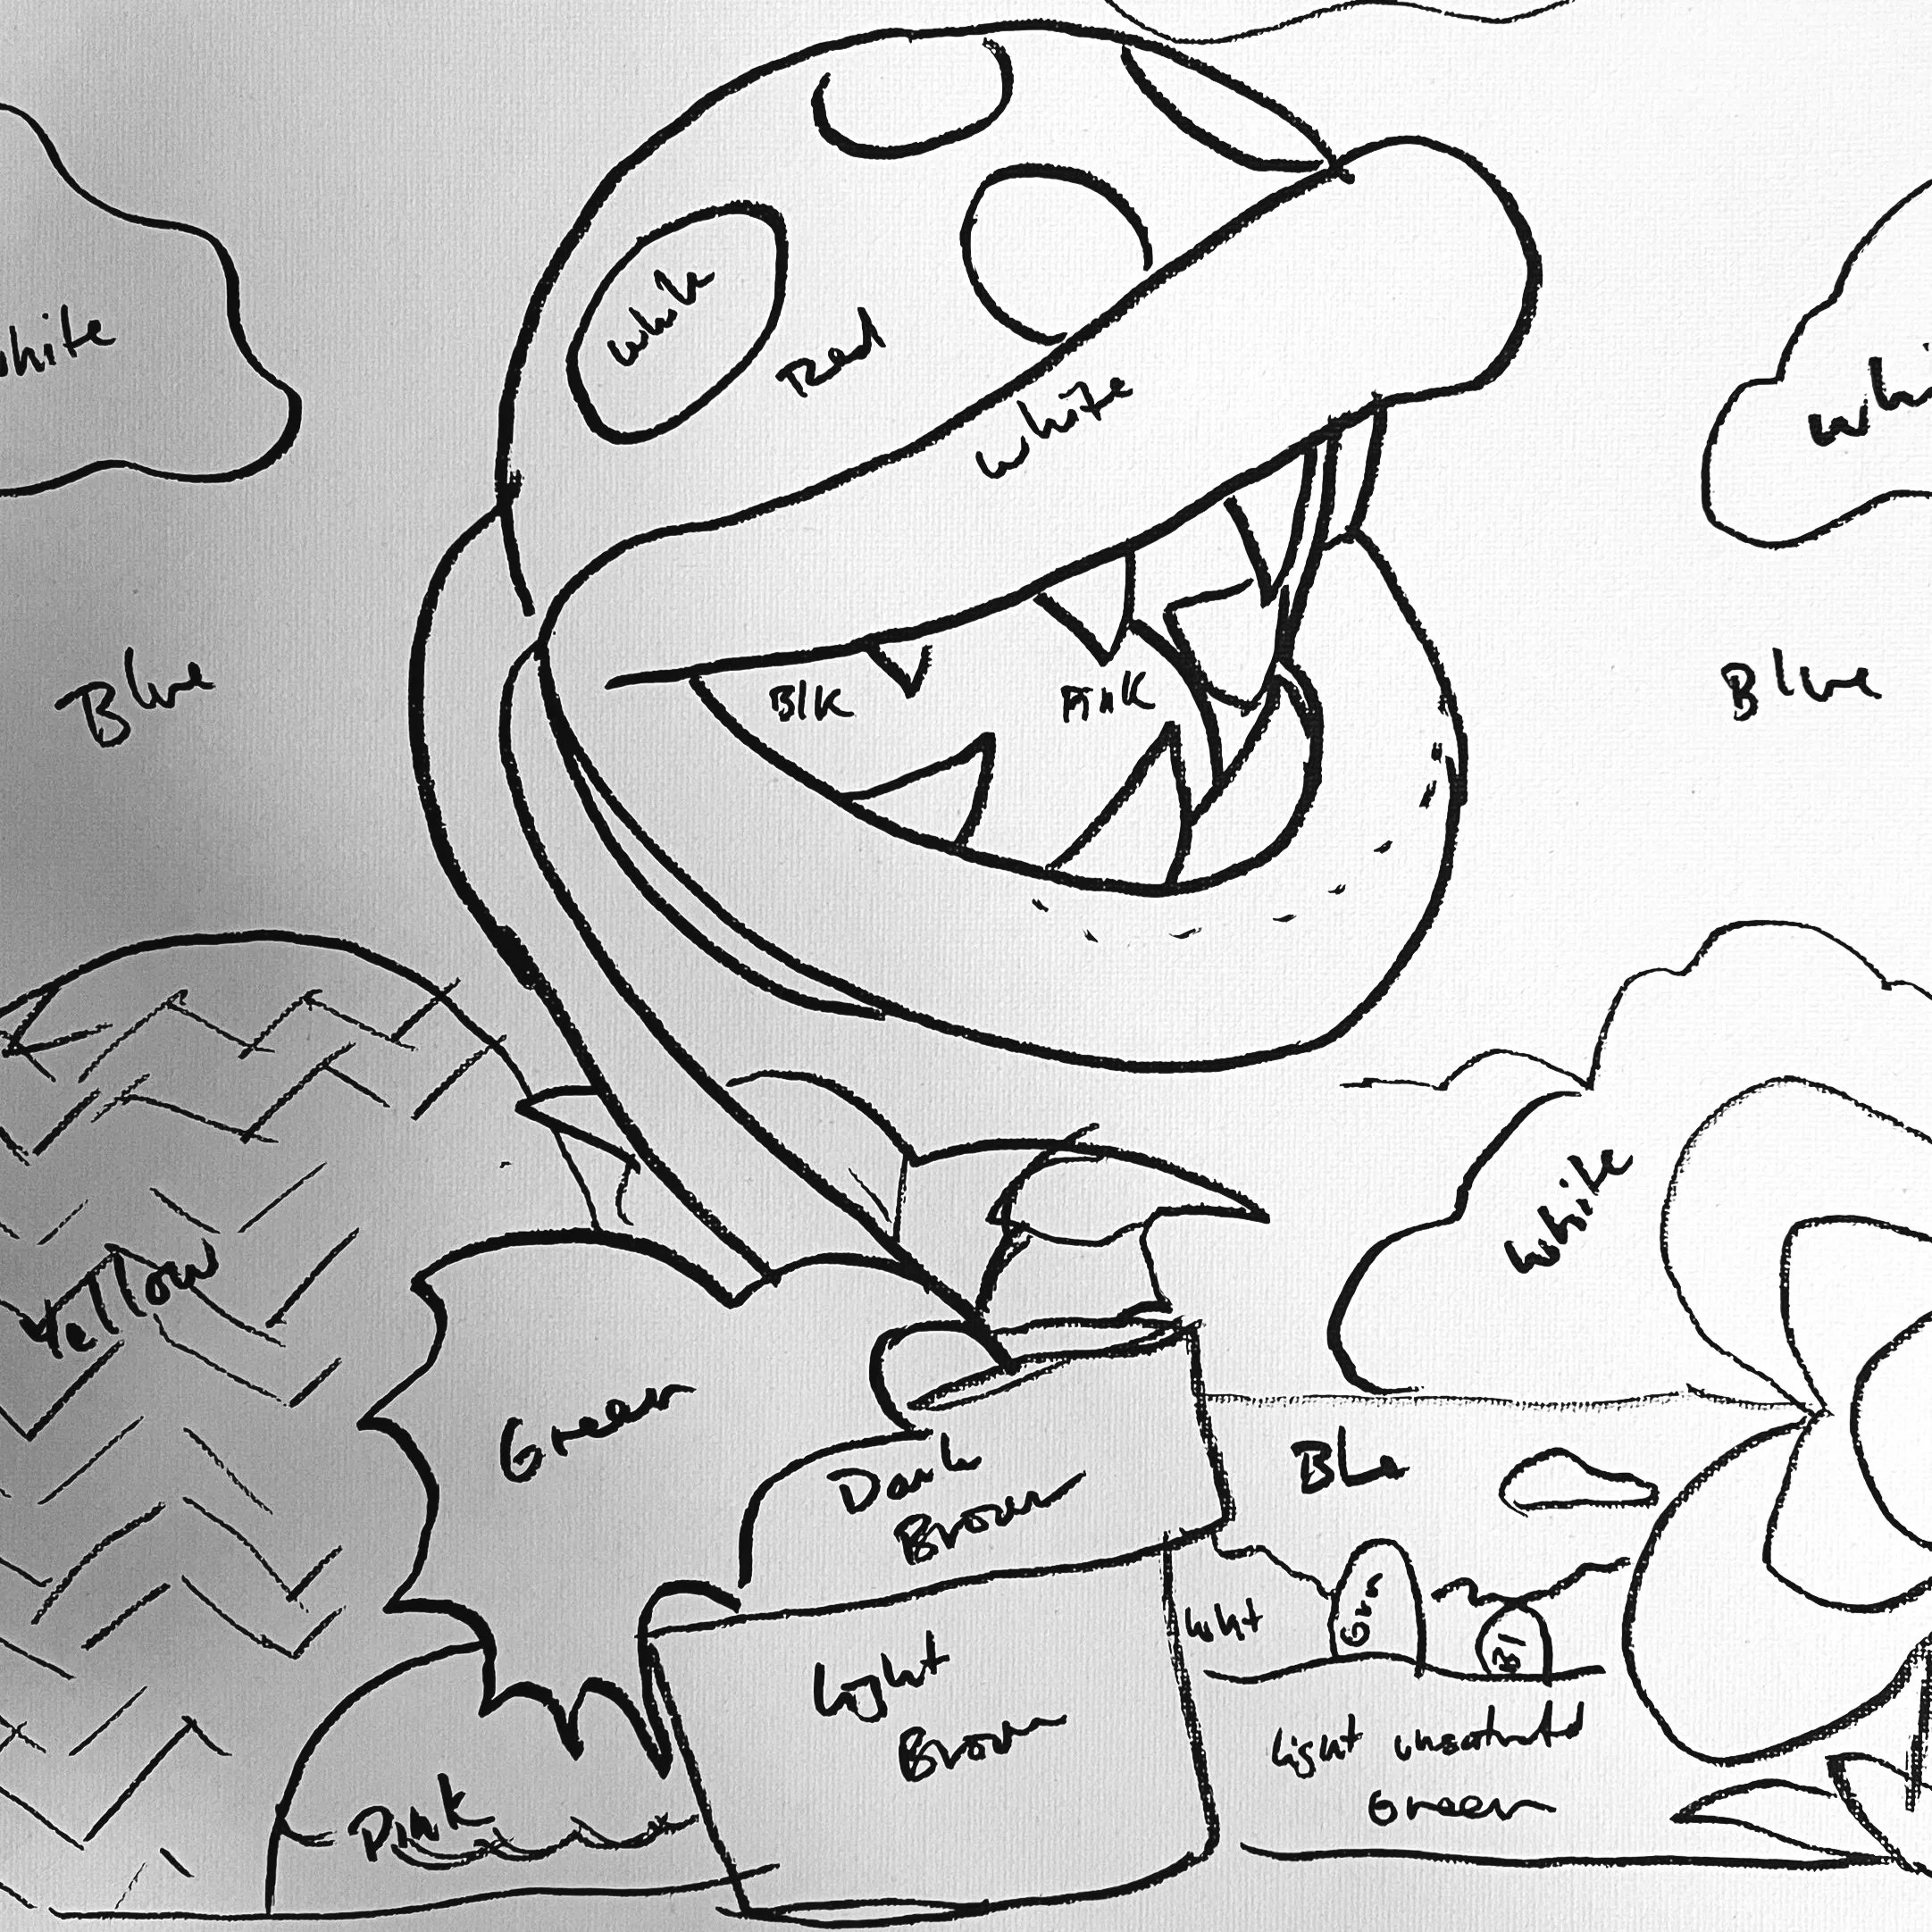
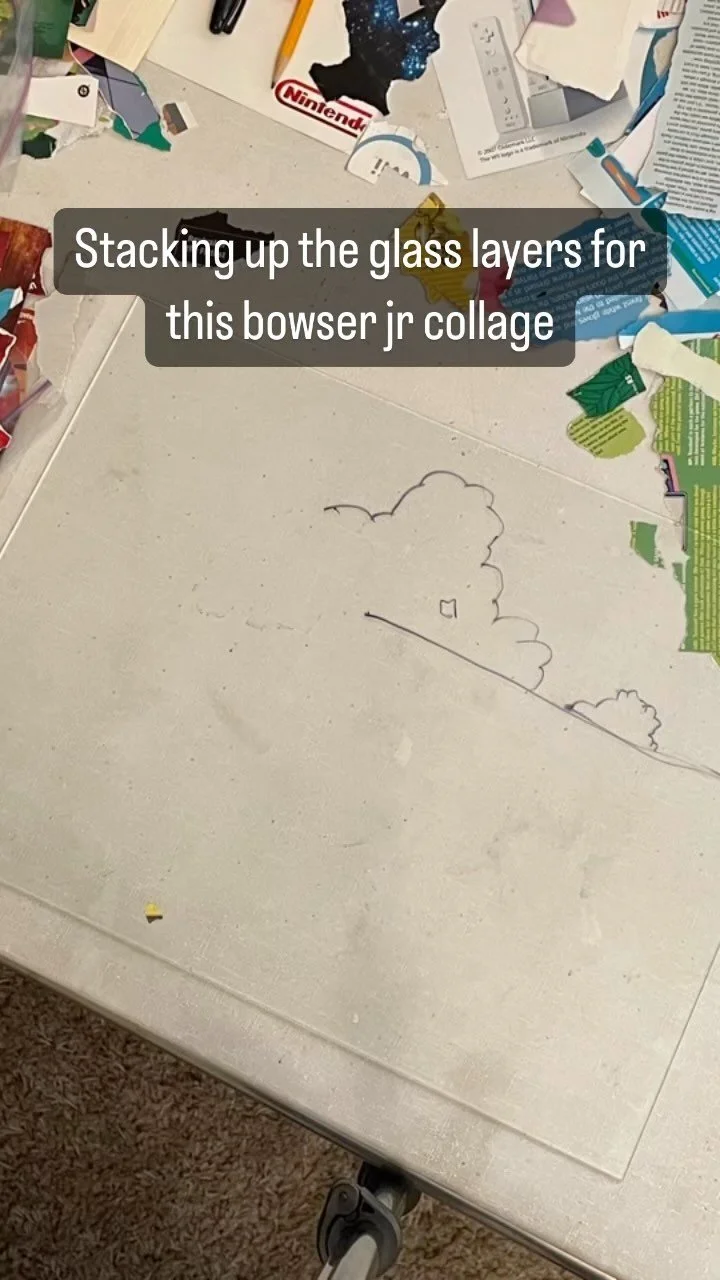
Sketch and plan
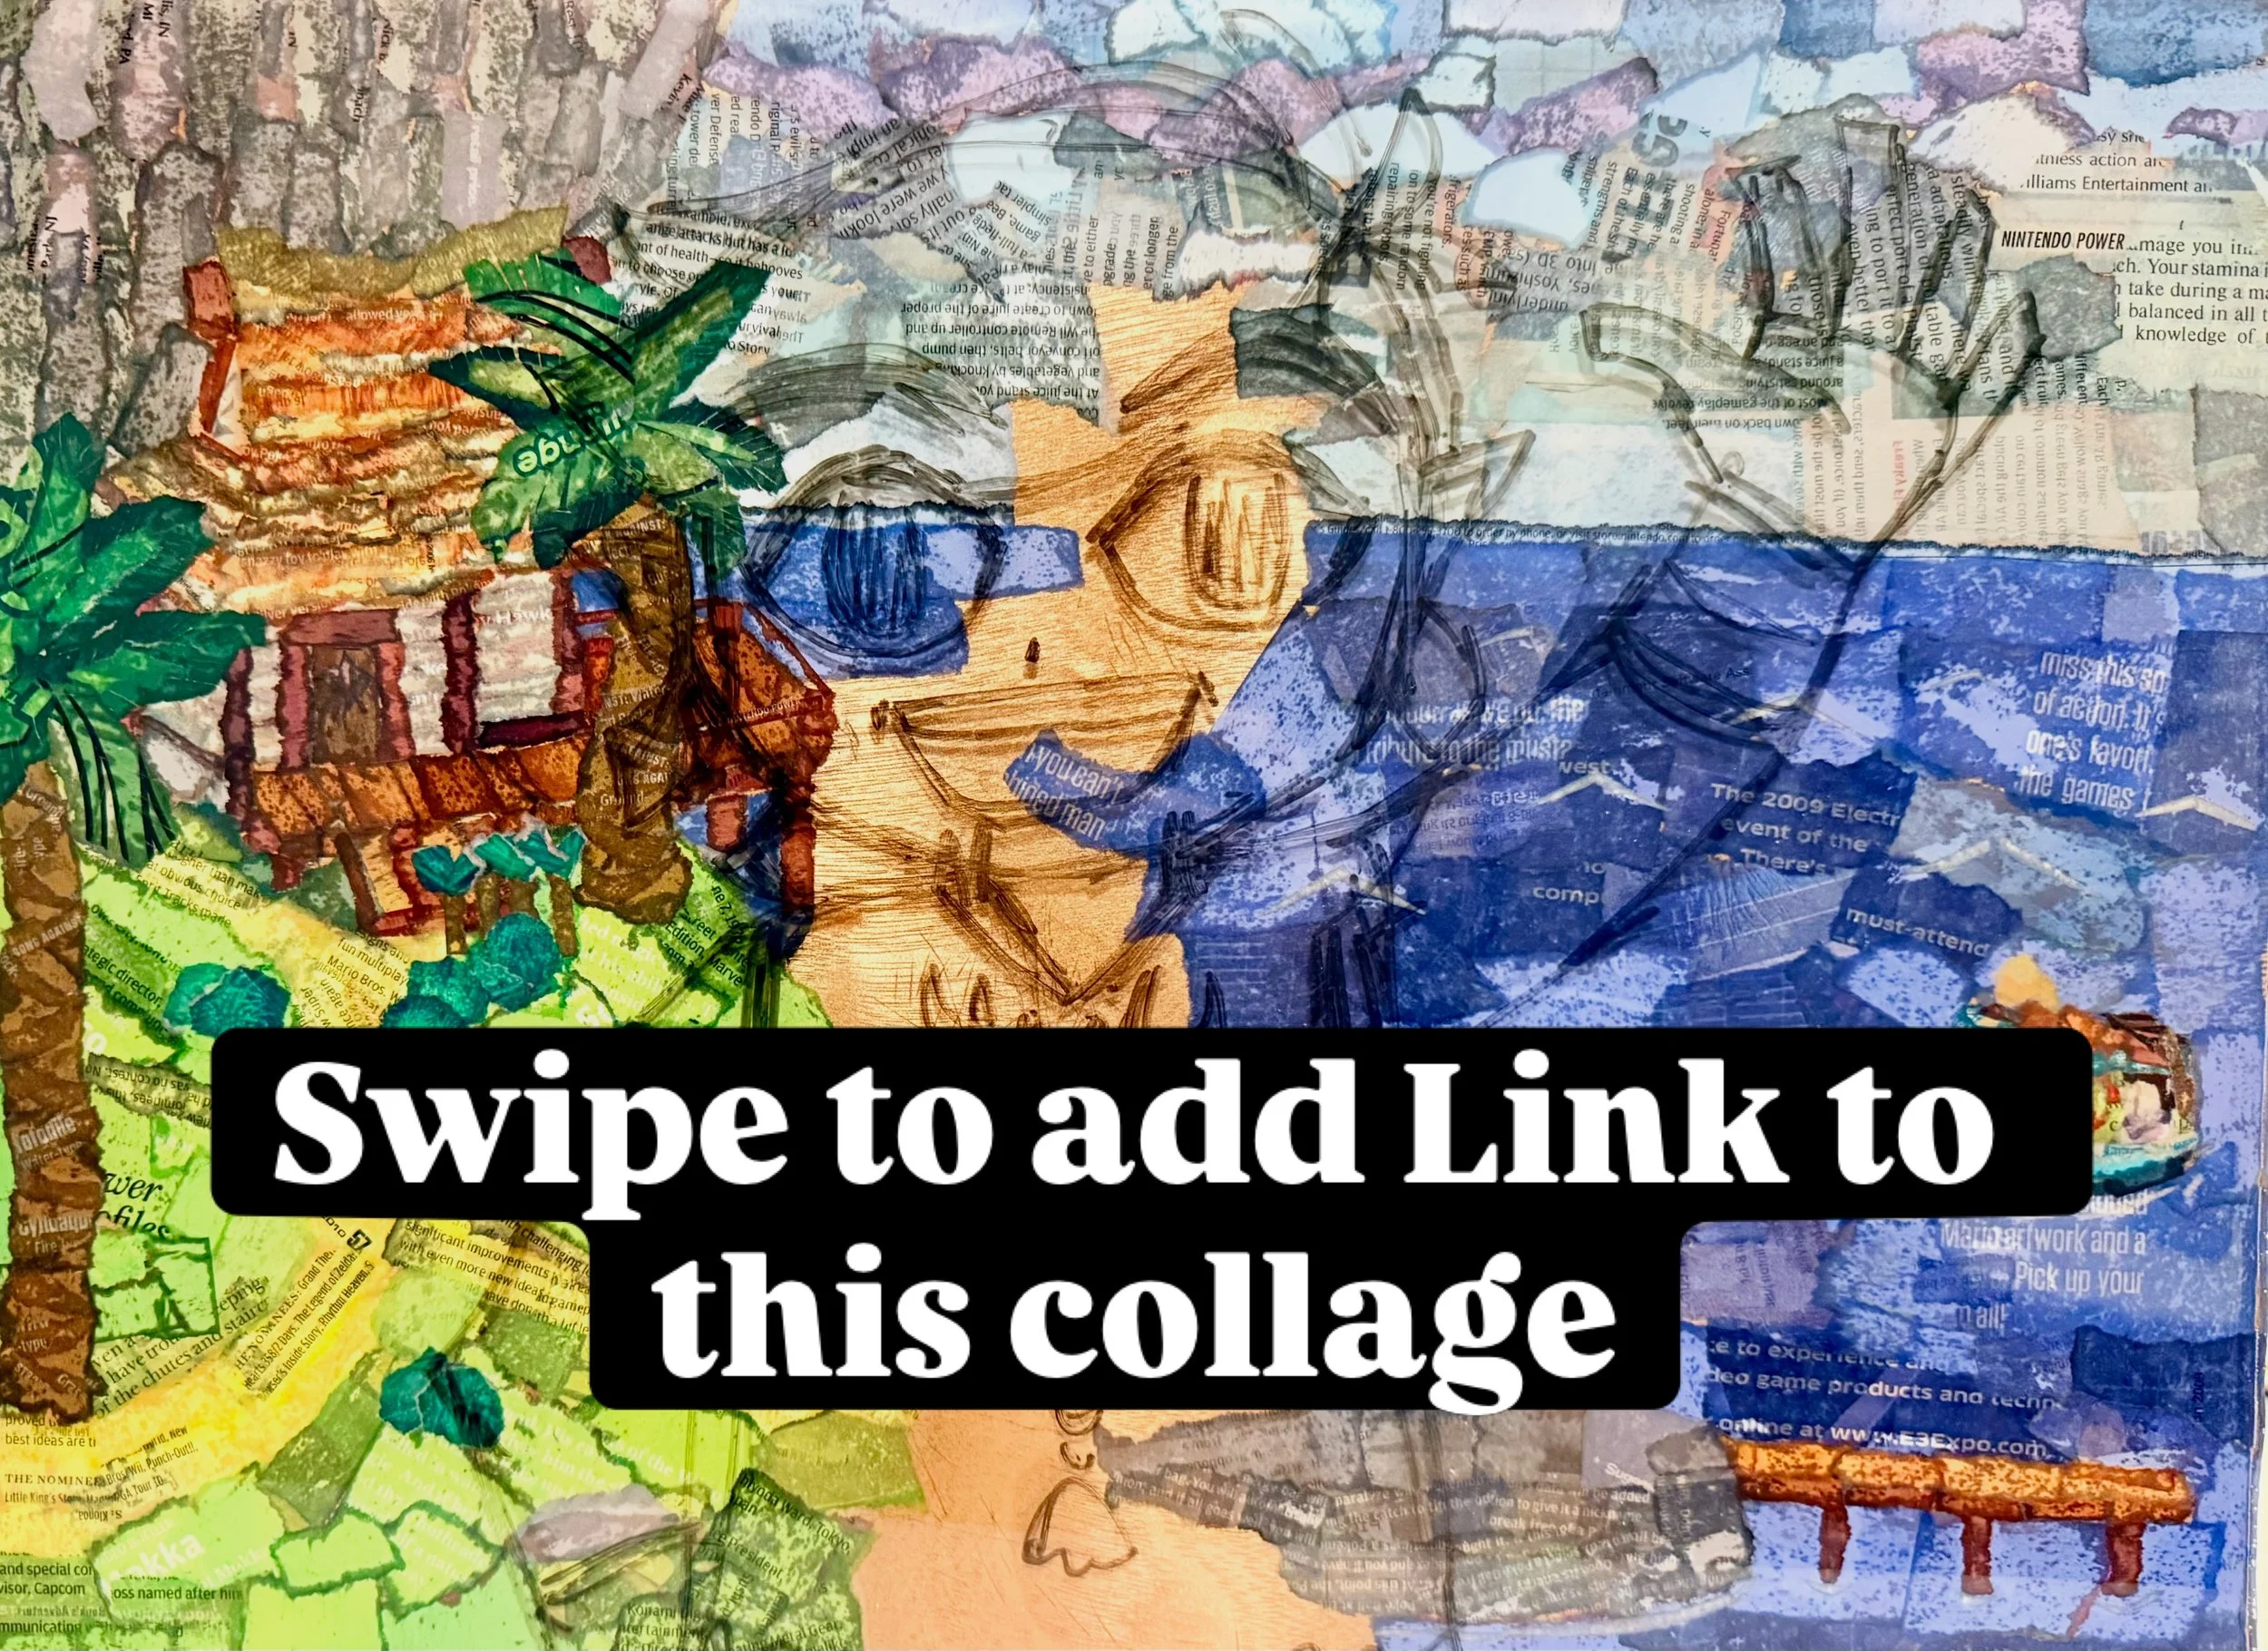
Once the shot is locked in, the scene is sketched out in outline form - establishing proportions, silhouette, and composition before a single piece of paper is touched. At this stage, the color plan is mapped out as well: which tones will be needed where.
-
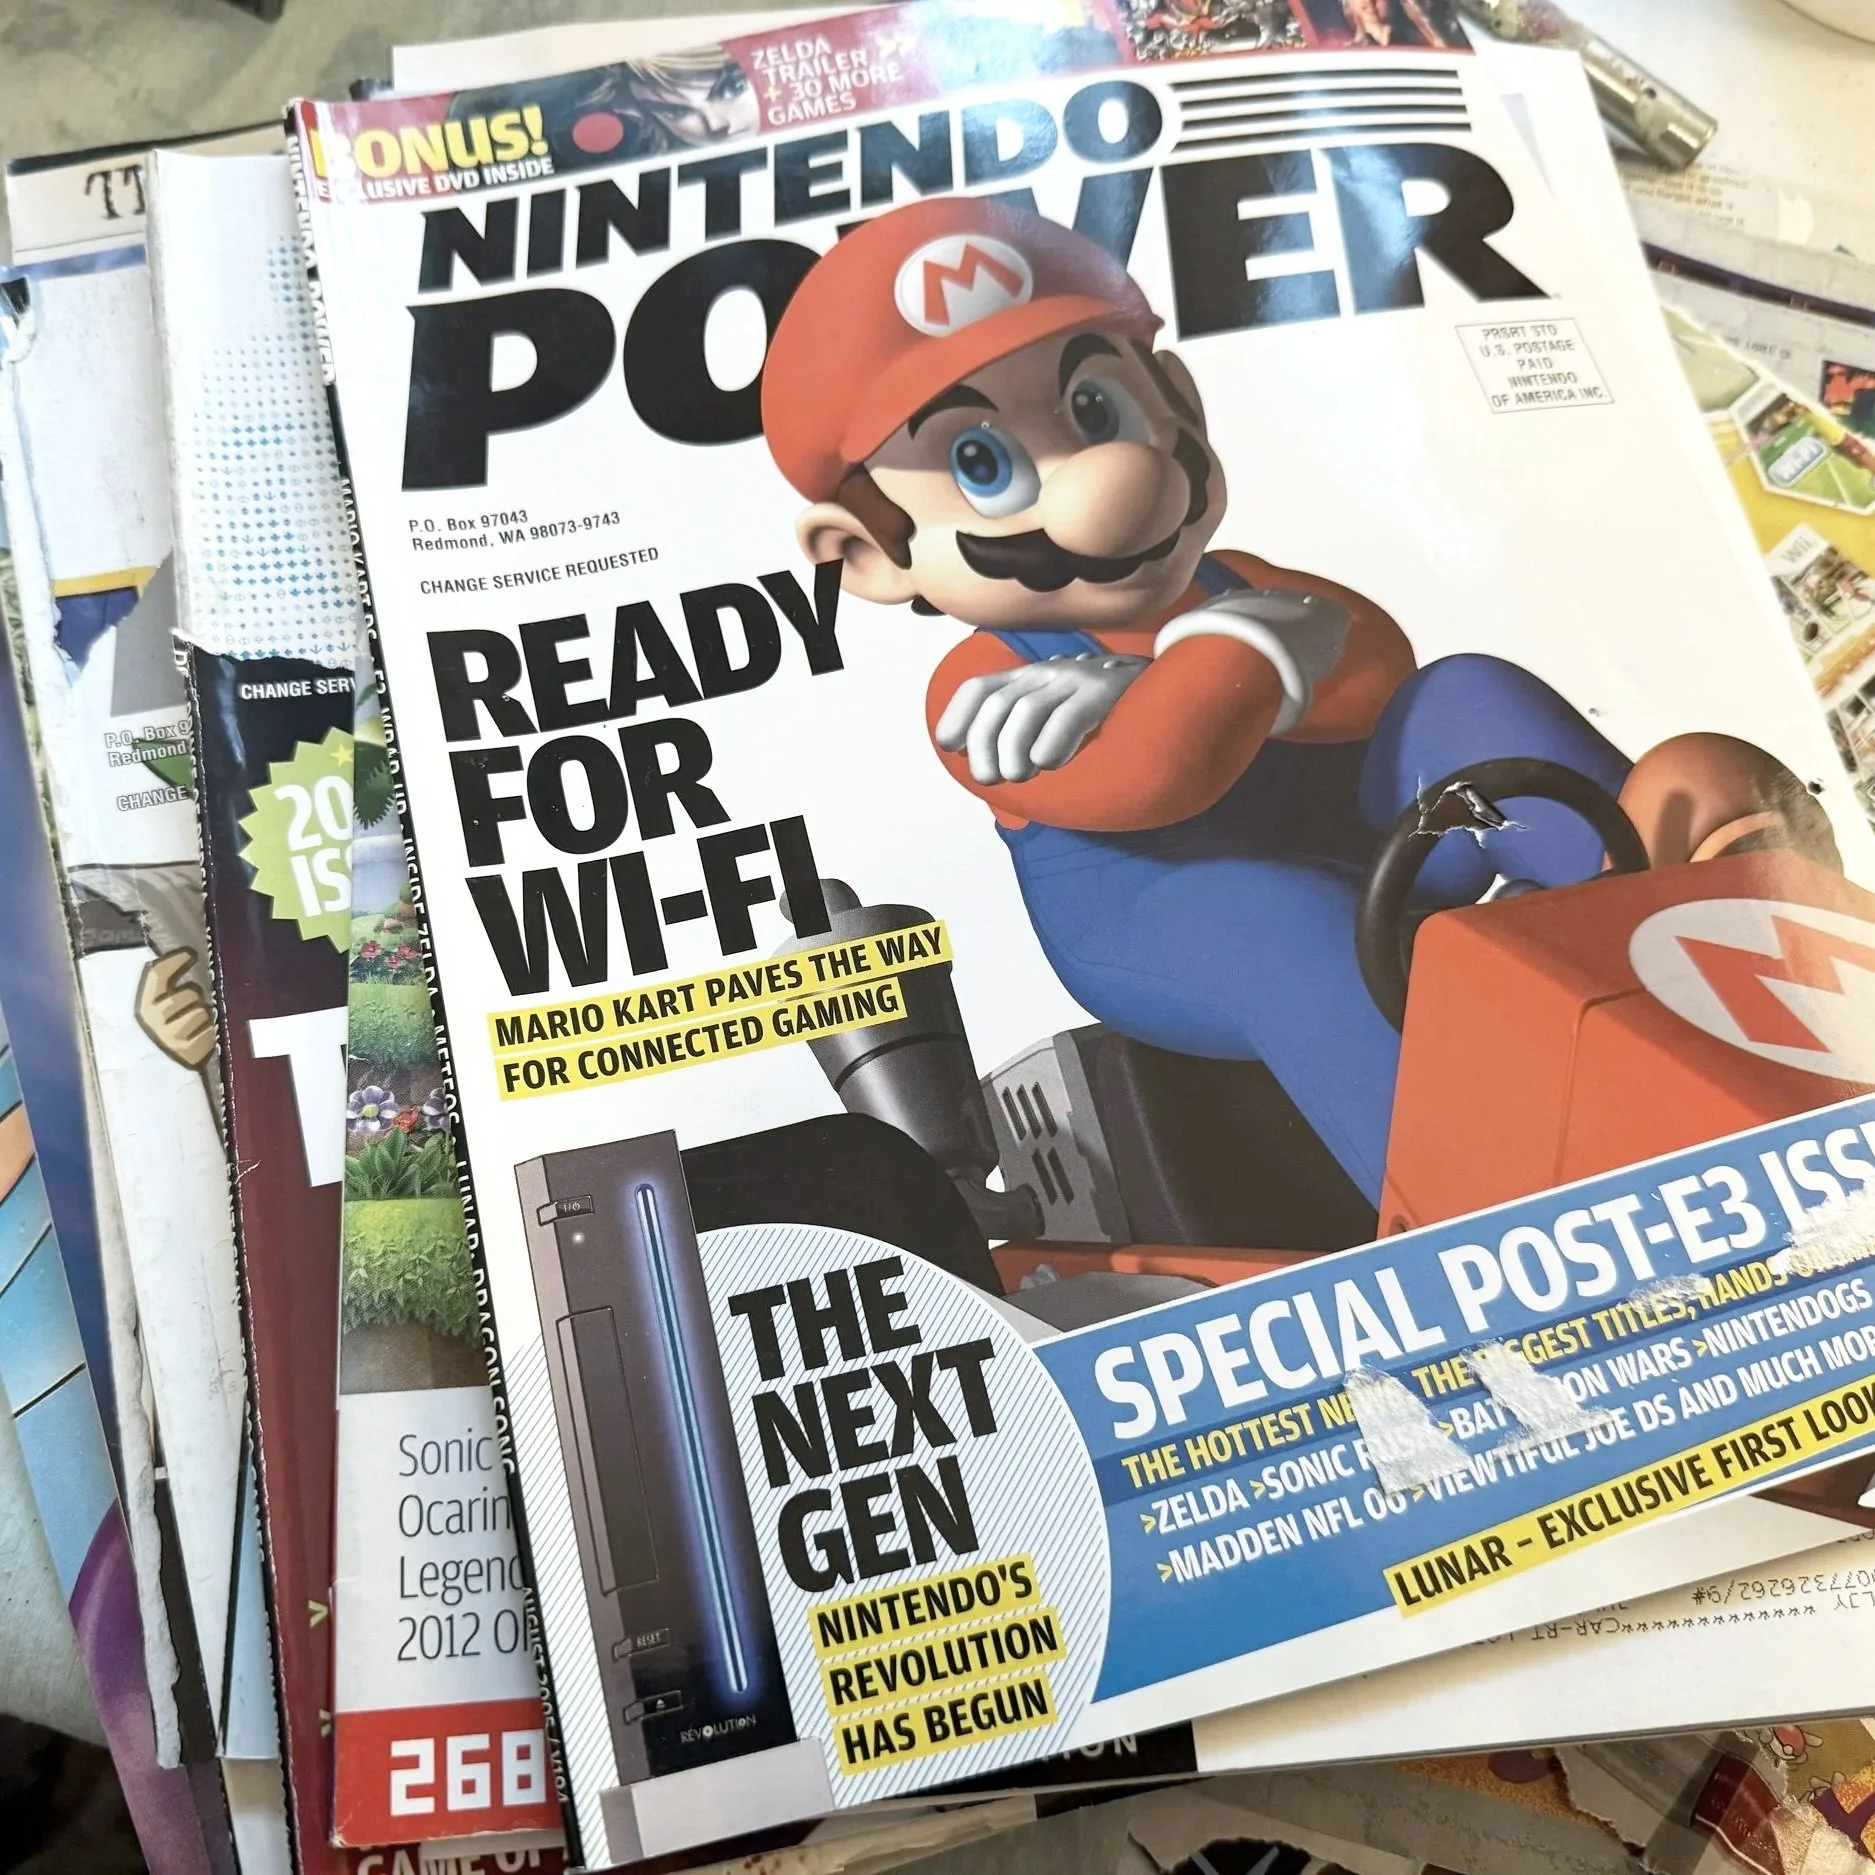
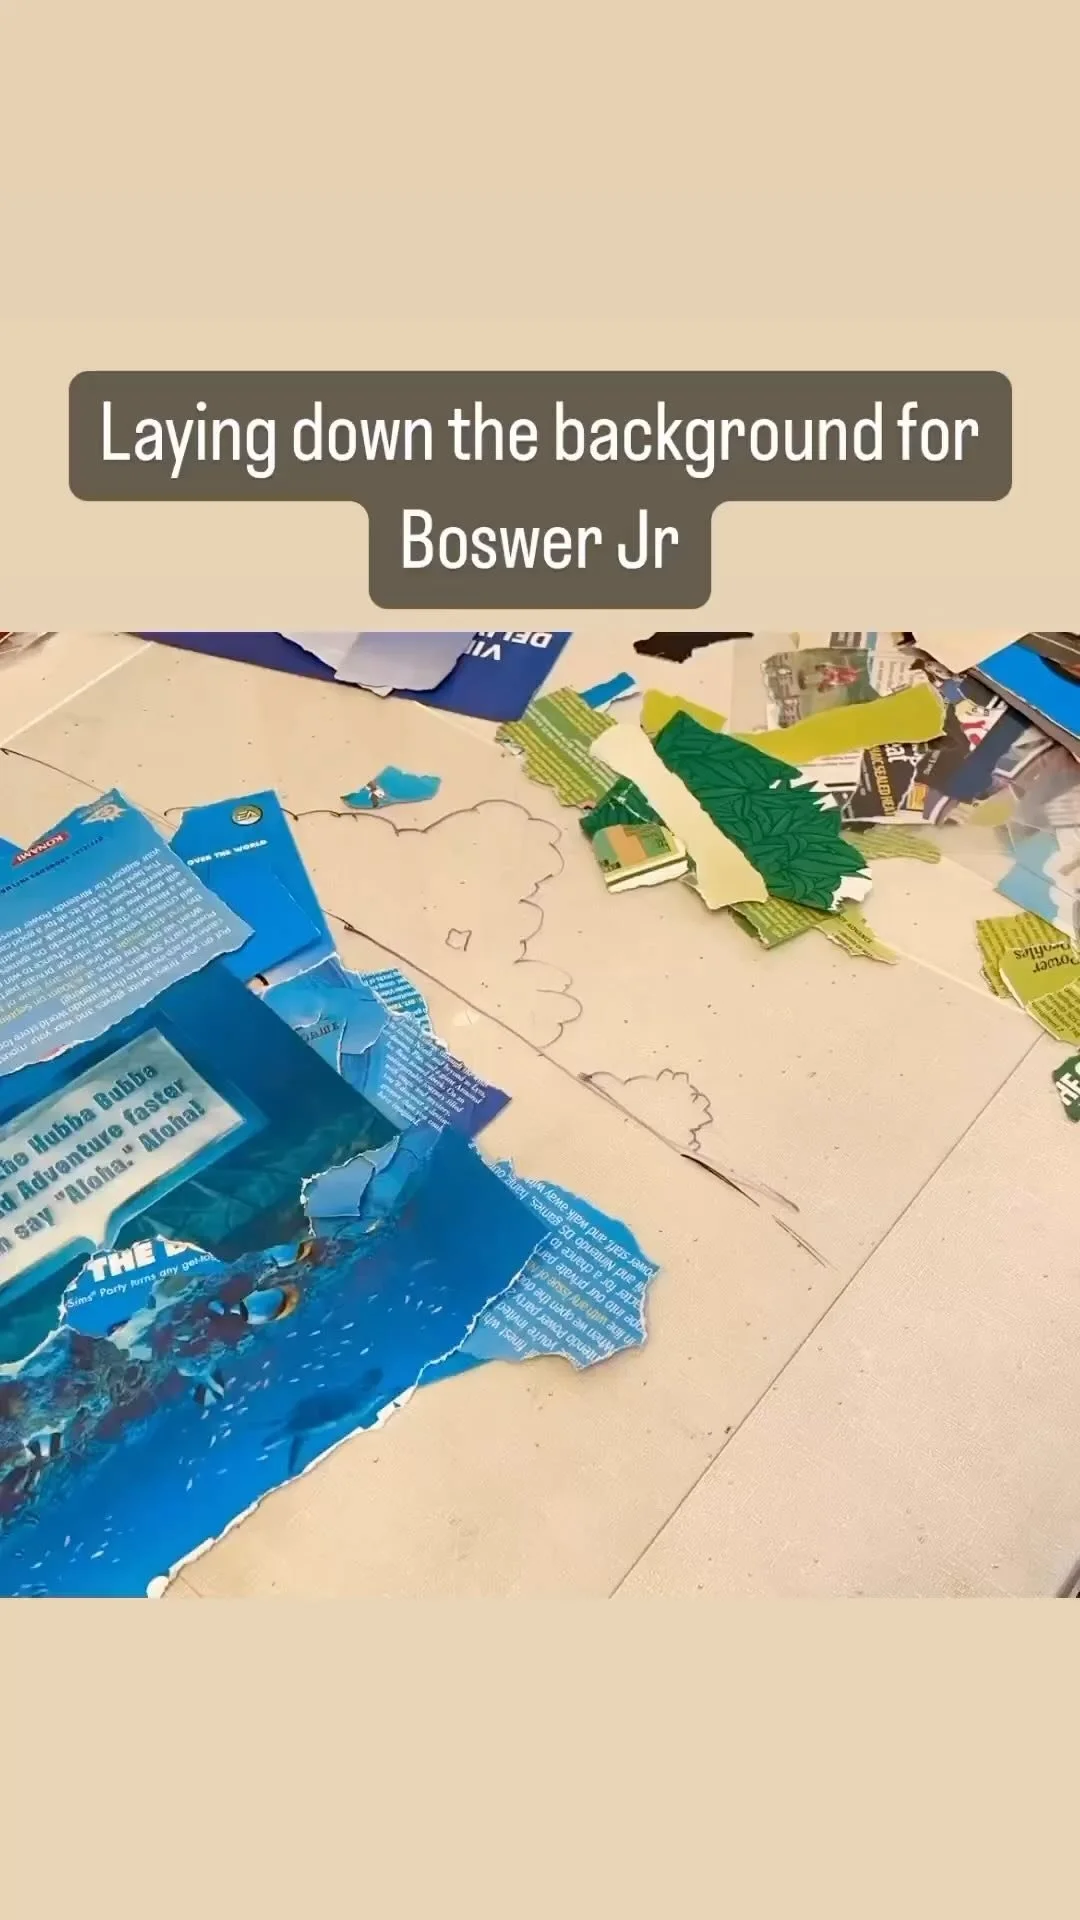
Source the color
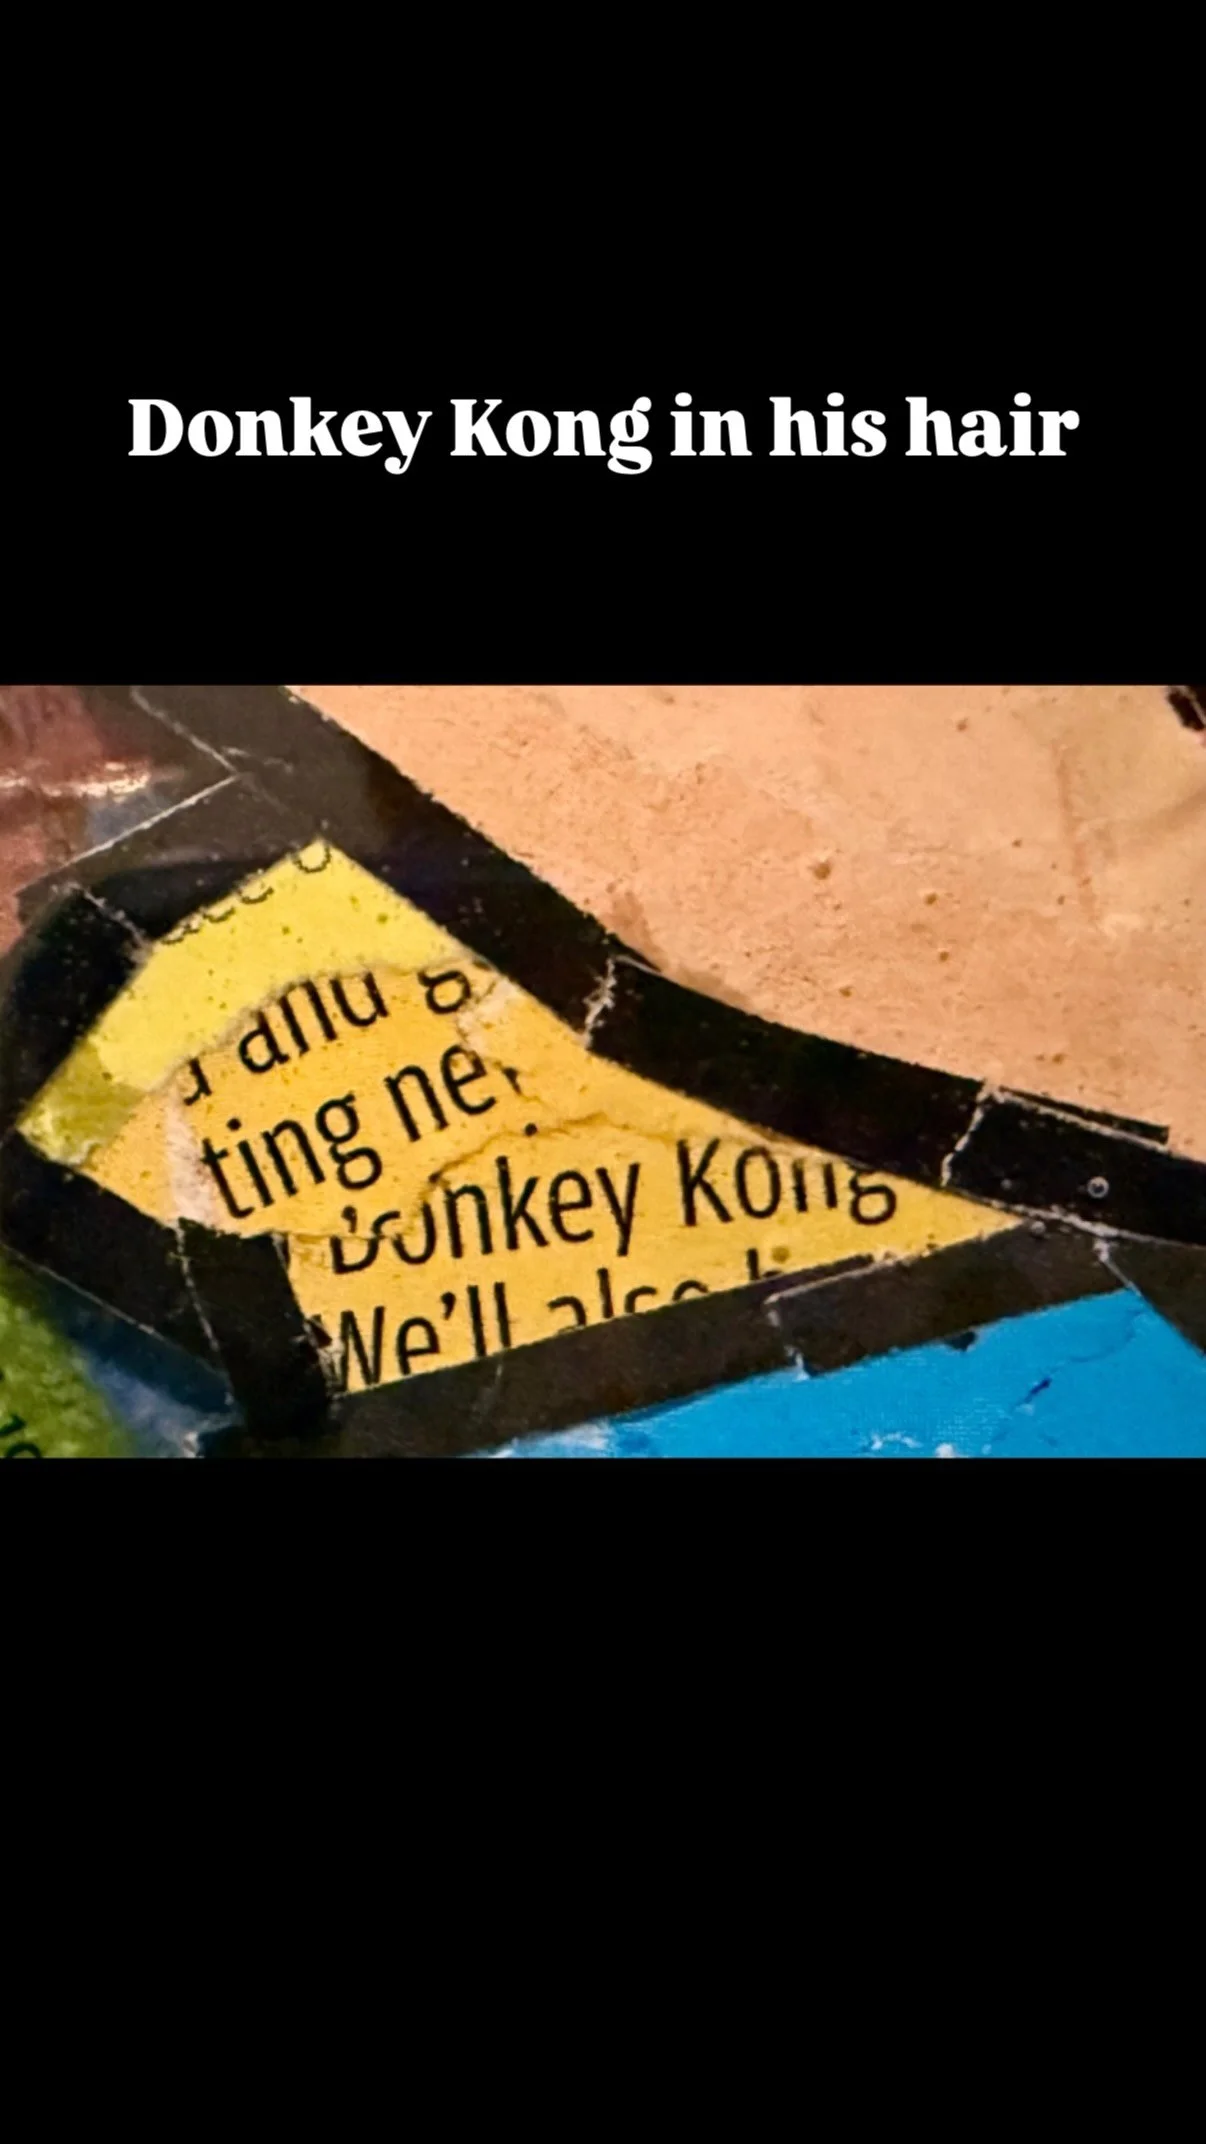
With a plan in hand, the real hunting starts - flipping through stacks of Nintendo Power magazines page by page, searching for the exact hues the piece demands. This step requires identifying specific shades needed to render shadow, highlight, and background depth.
-
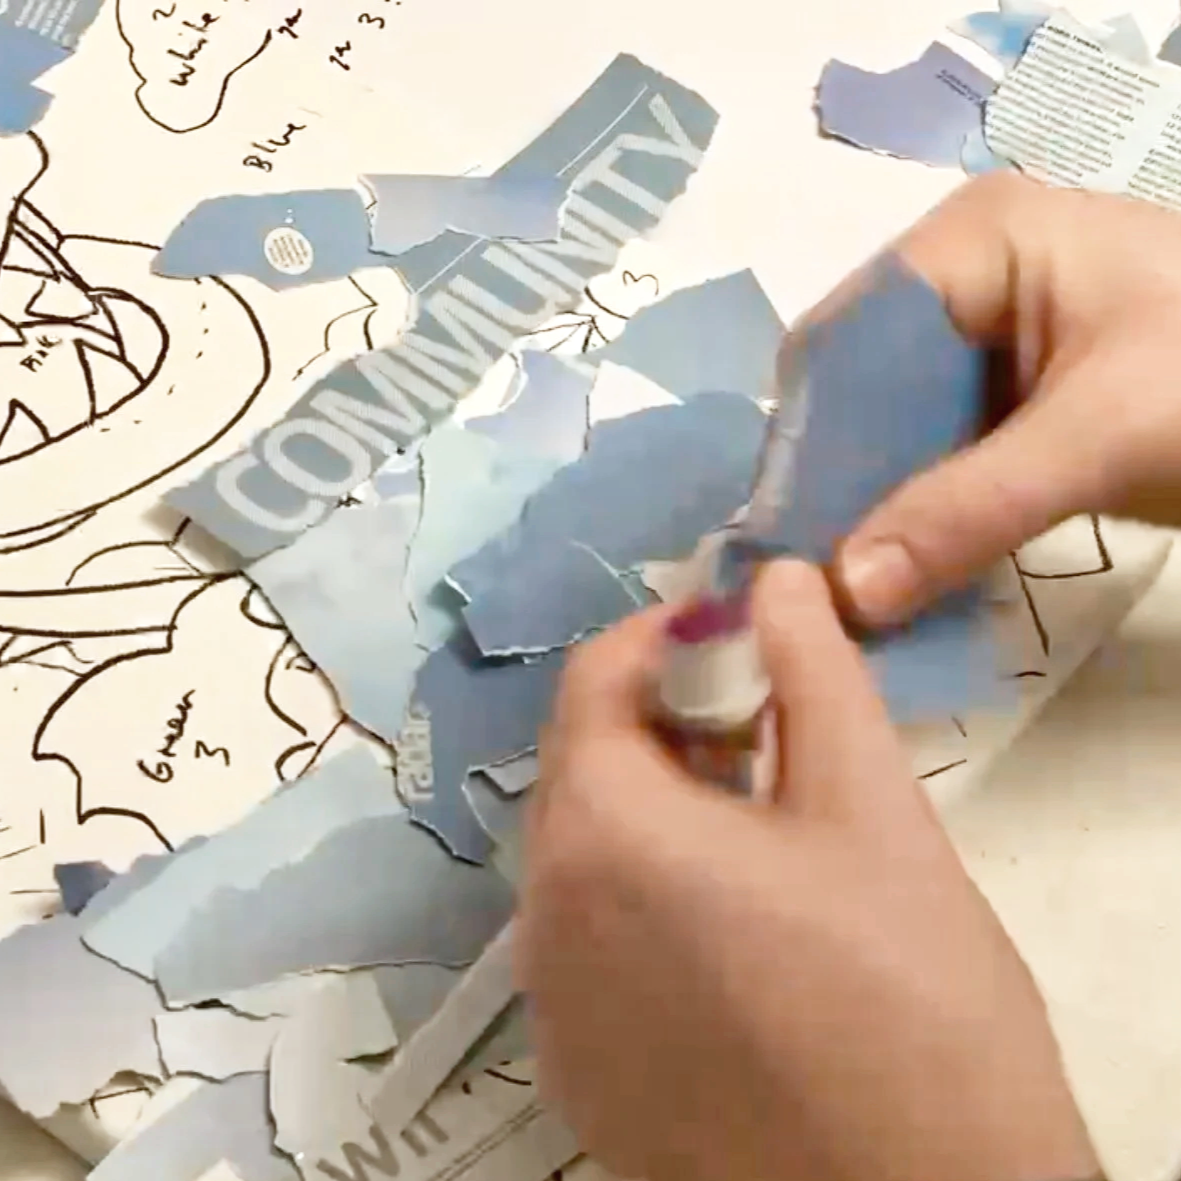
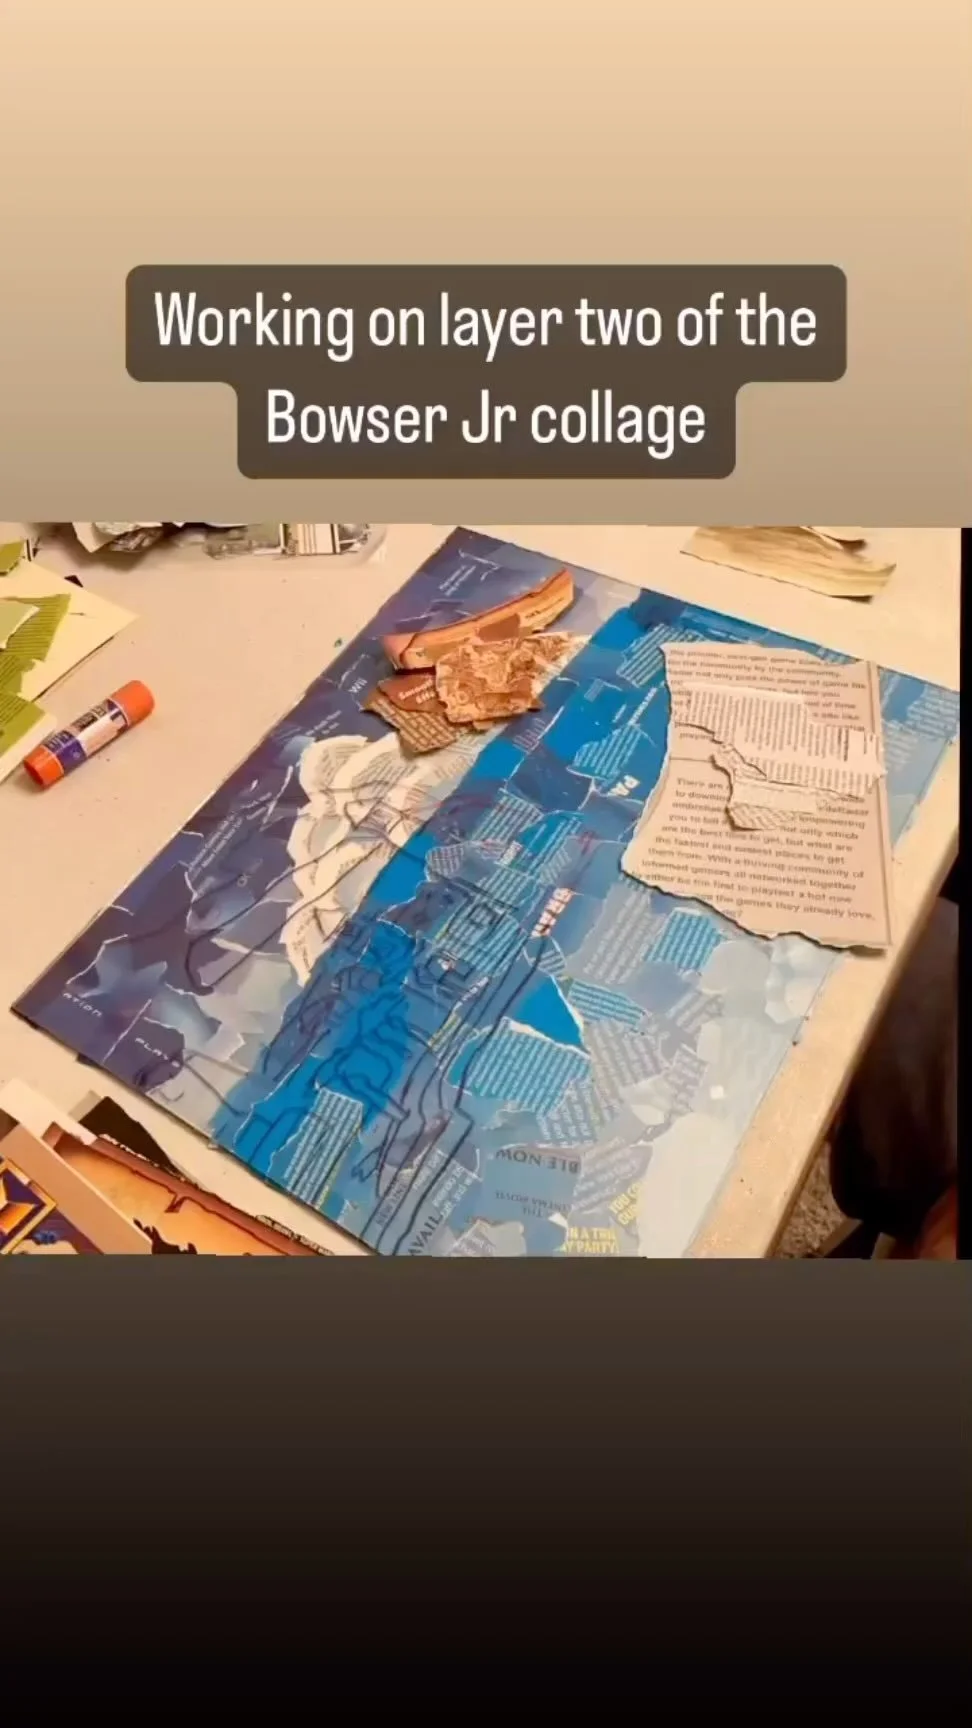
Rip and glue
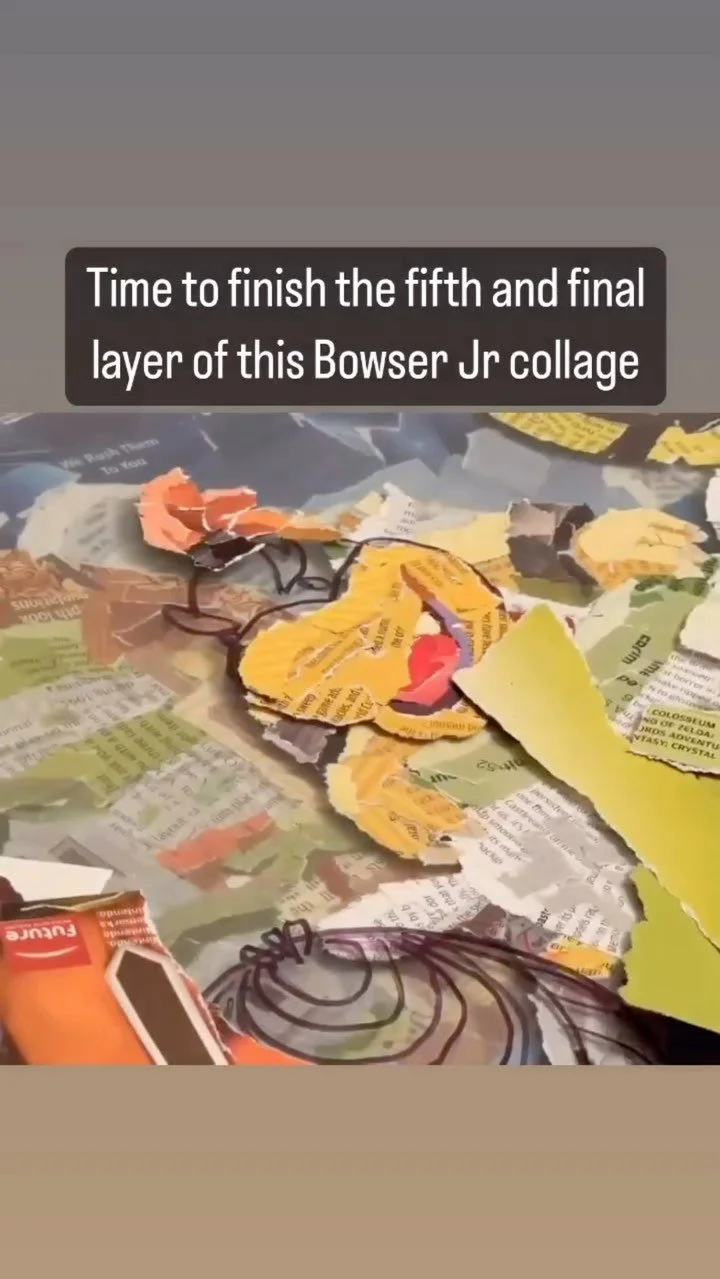
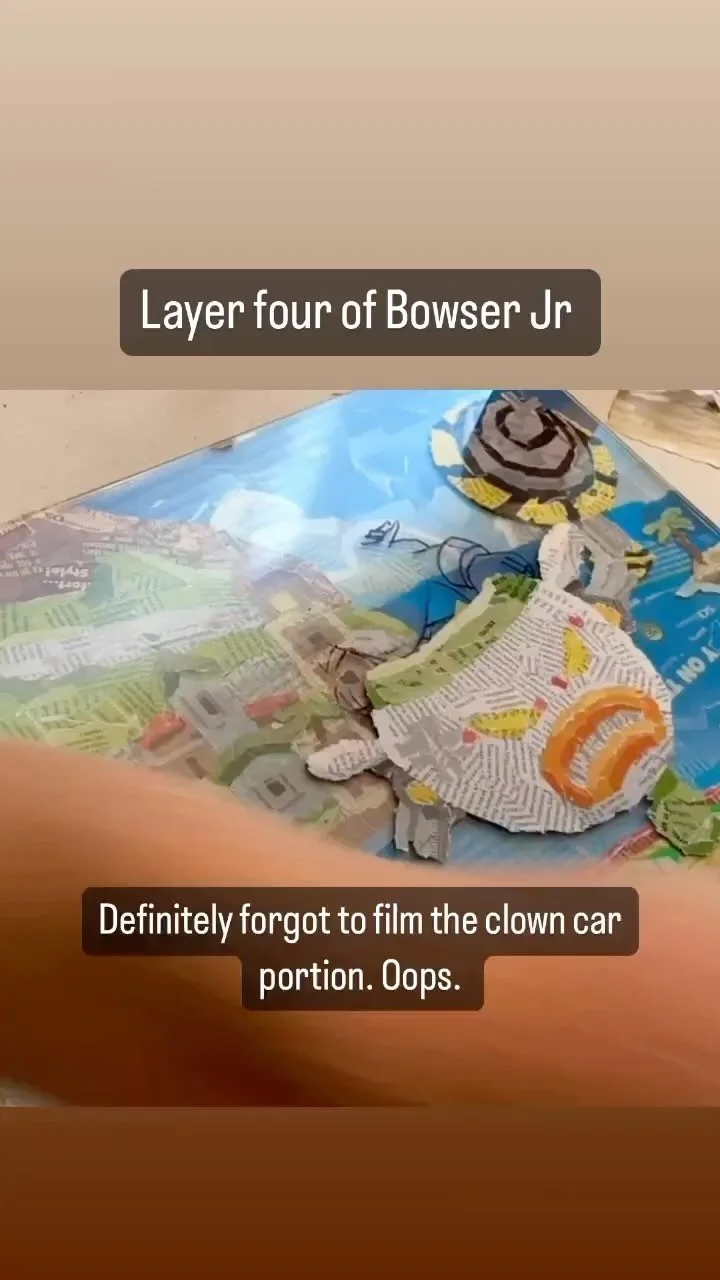
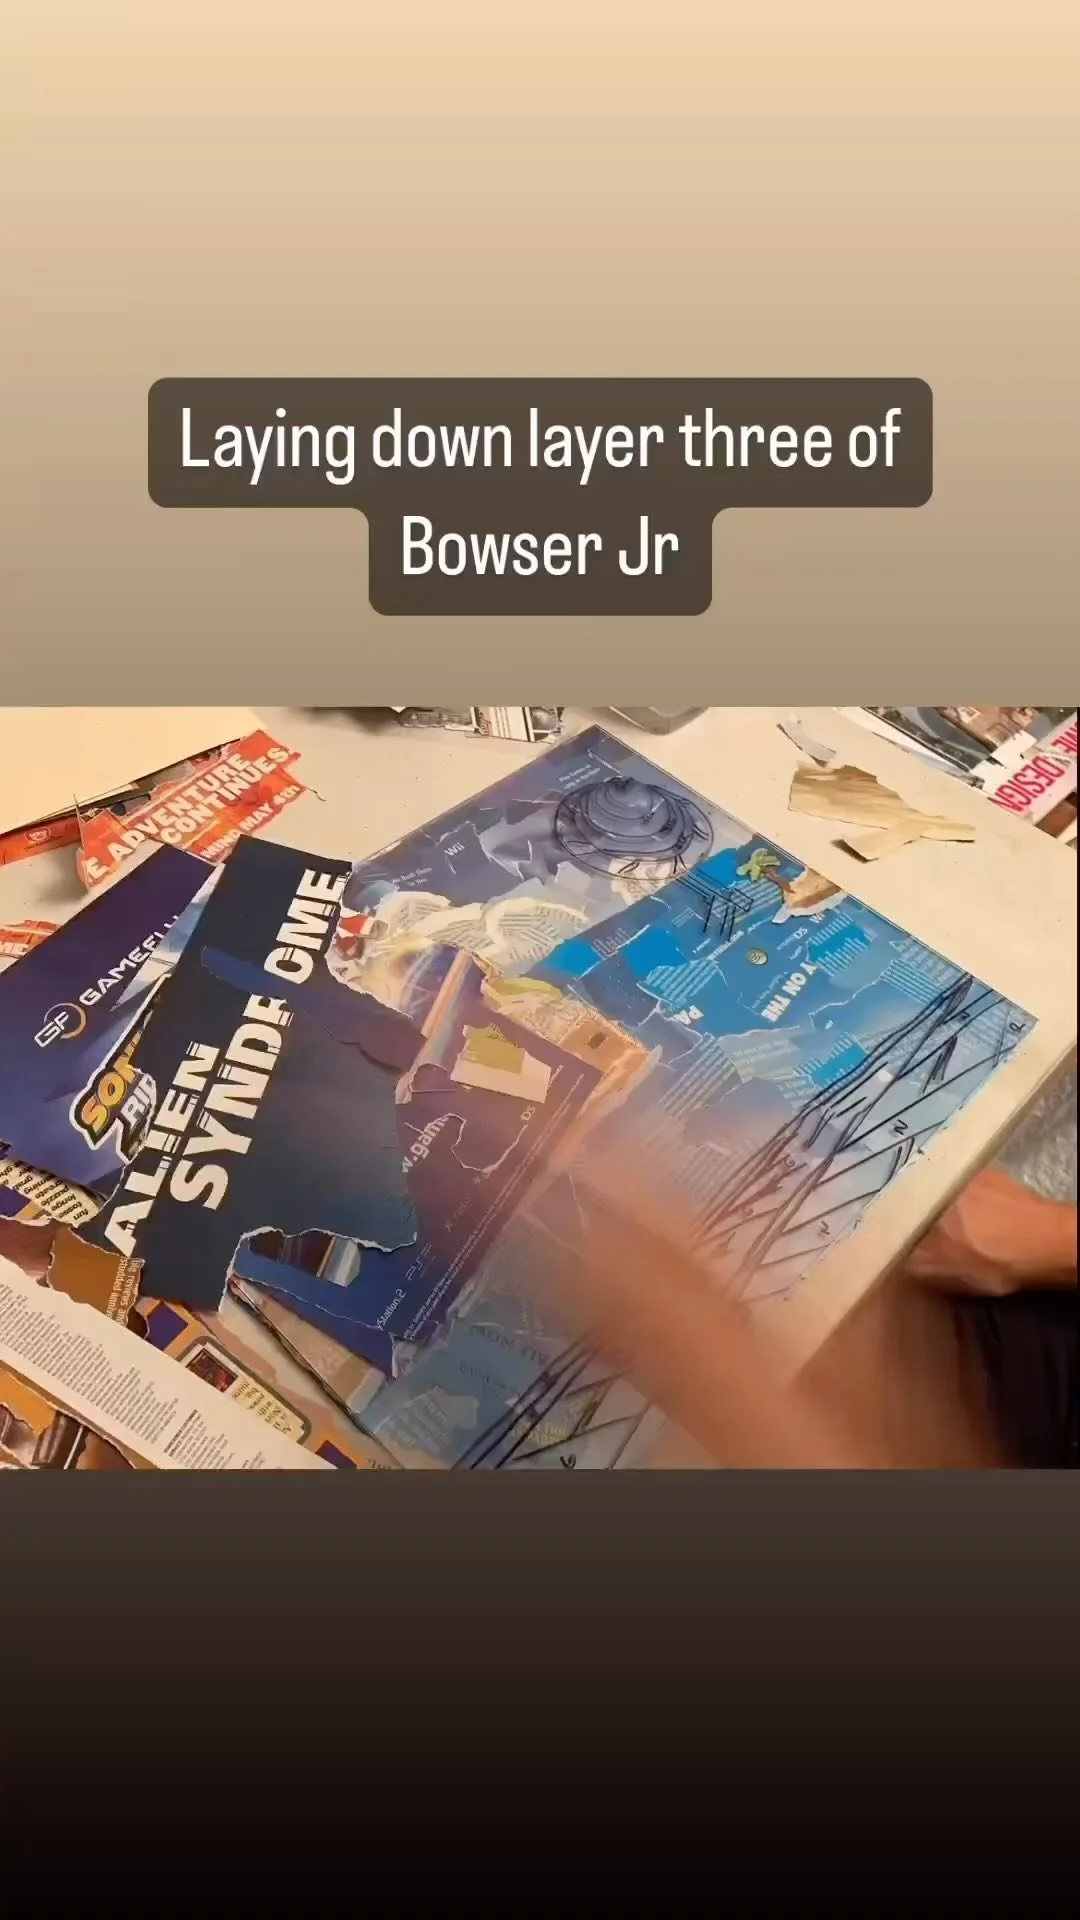
Each piece of paper is hand-torn to shape and set using a simple glue stick - the same kind you'd remember from grade school. Construction happens in careful sequence, background elements laid first, with each successive layer building forward until the foreground elements bring the piece into focus.
-
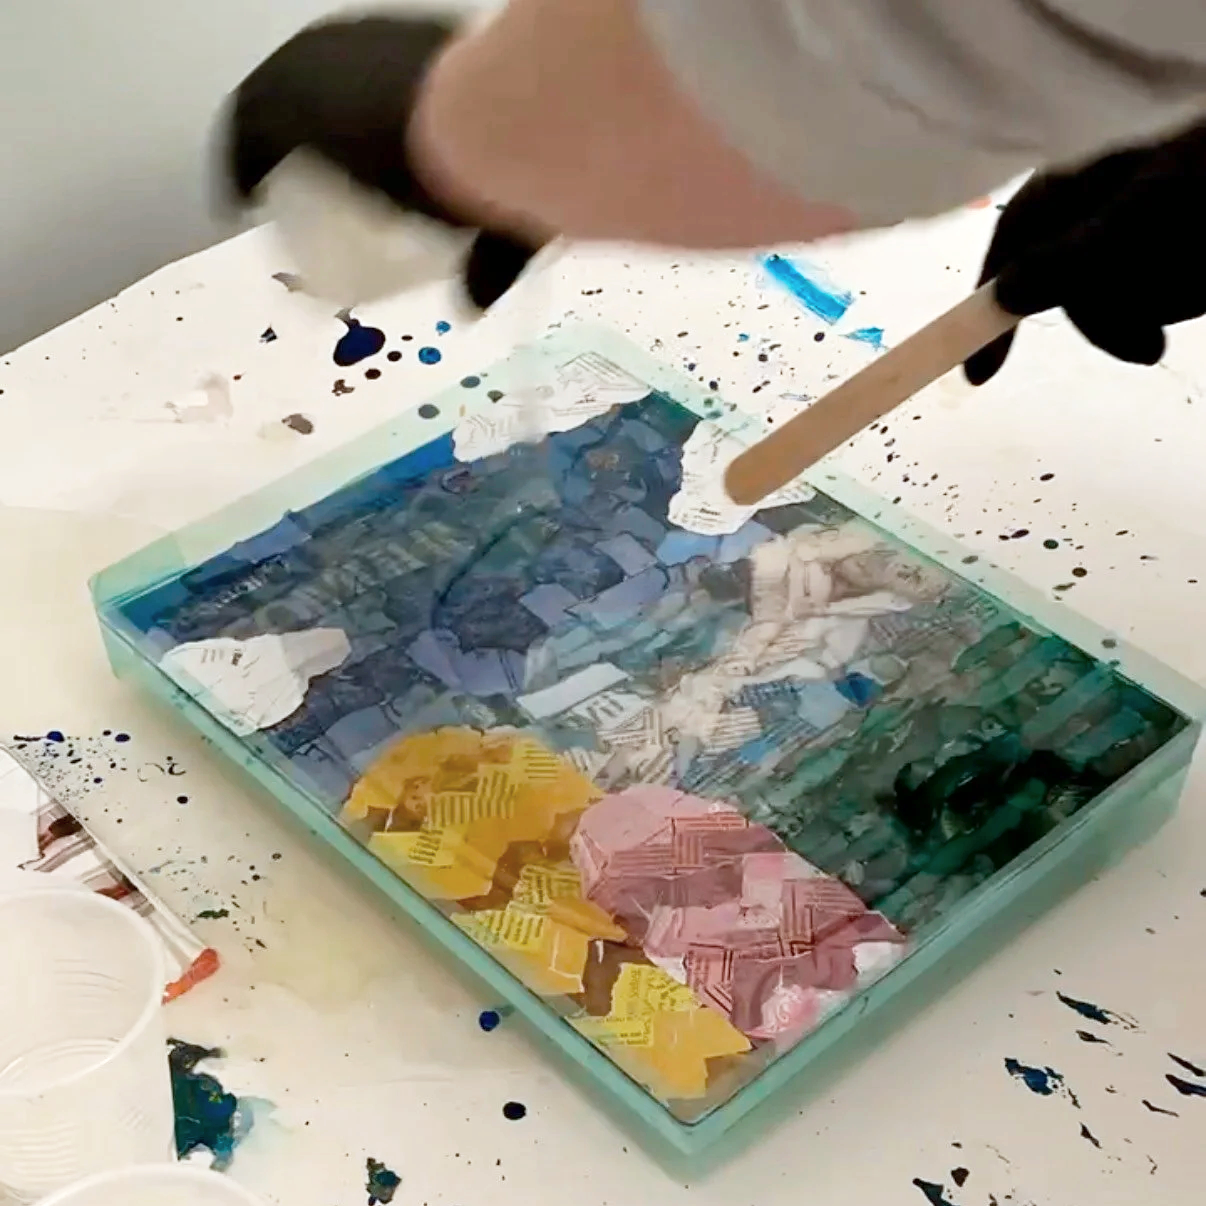
Seal and finish
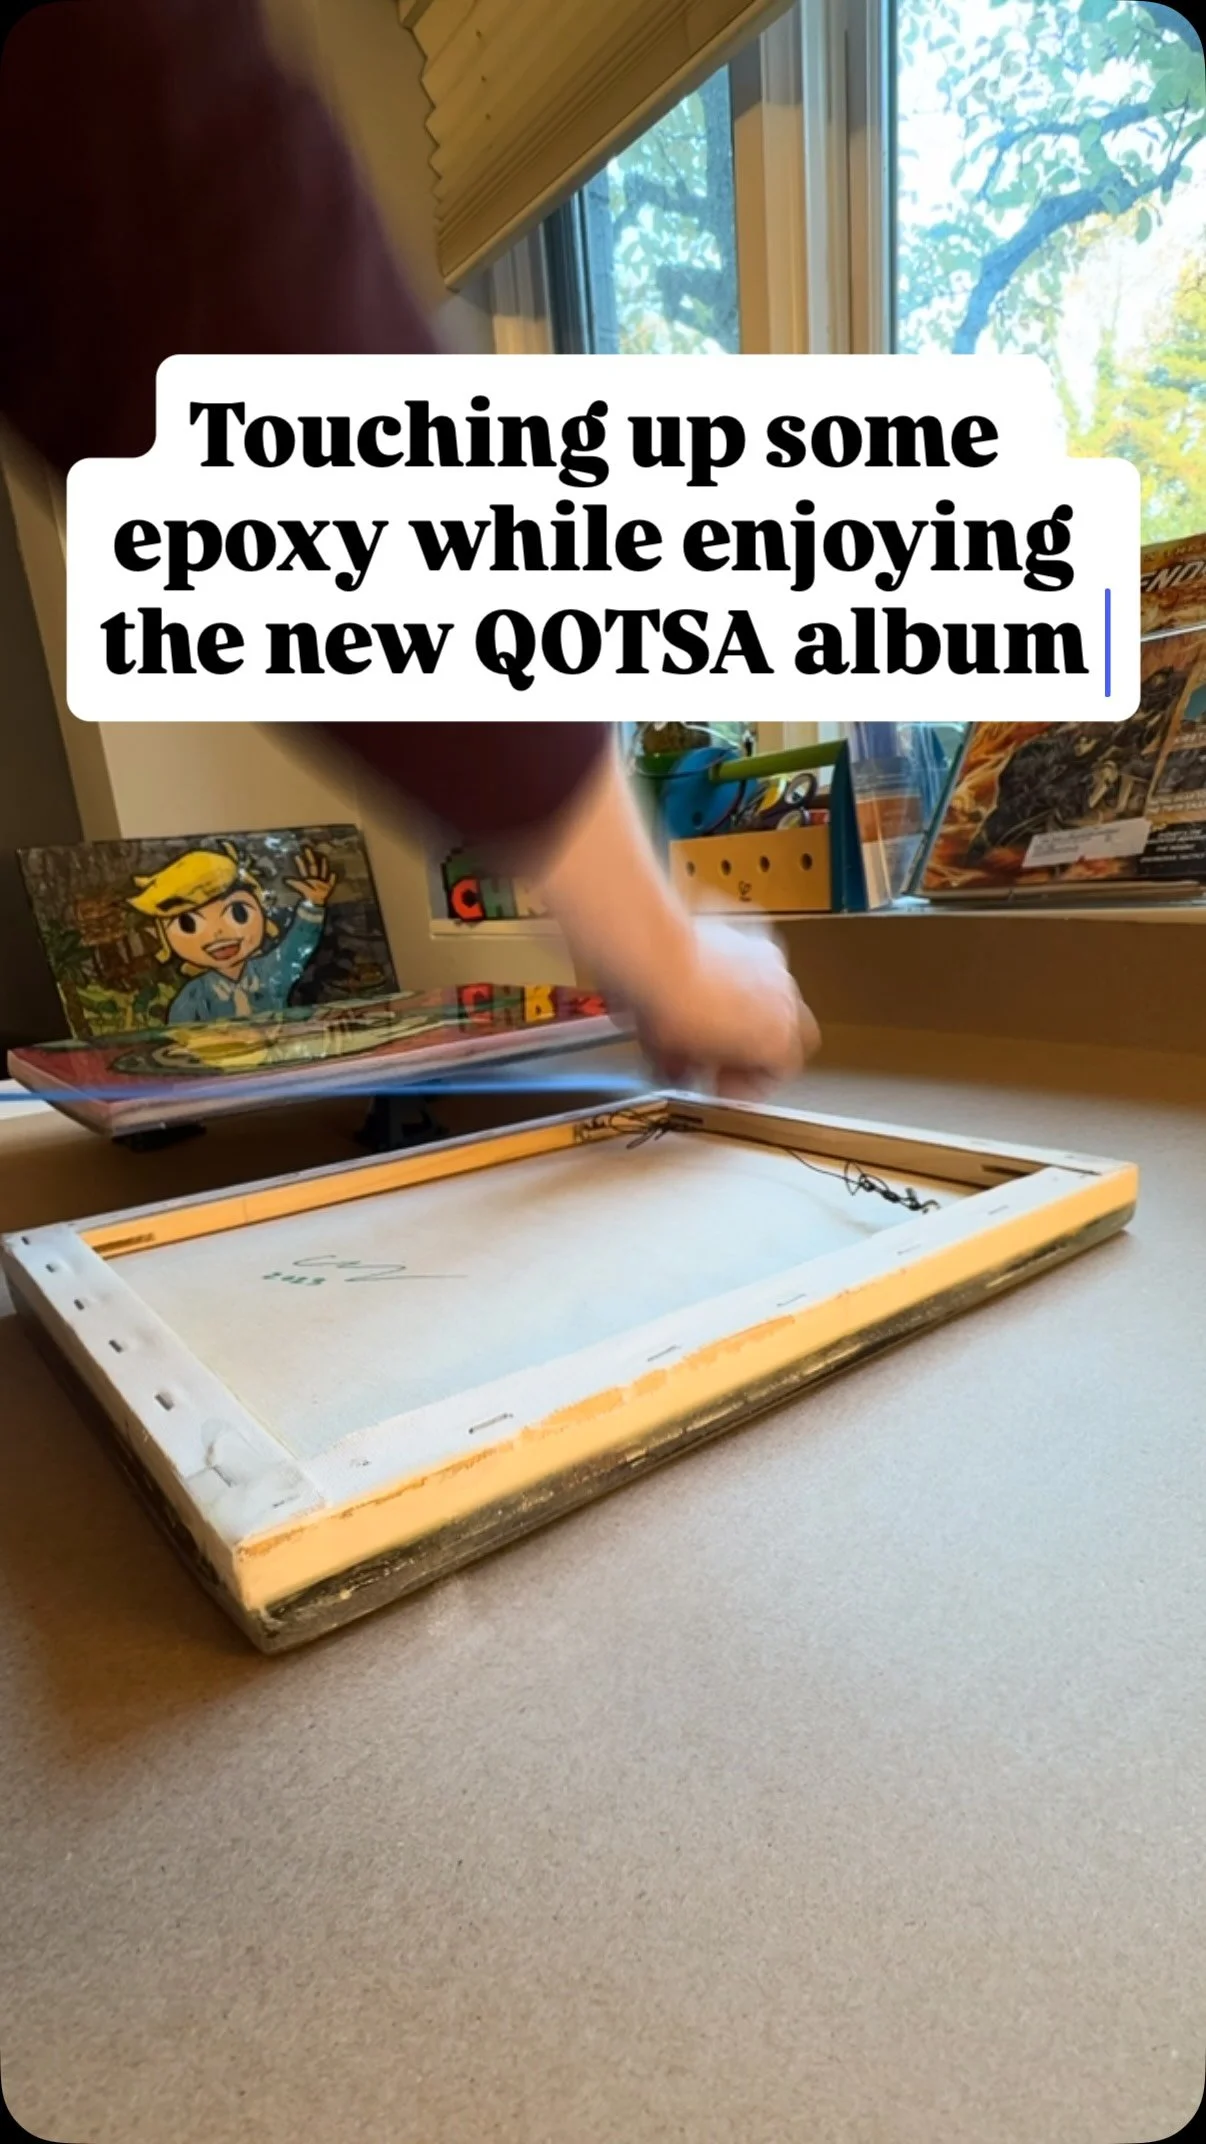
Once the collage is fully assembled, it's sealed permanently under a layer of epoxy resin - locking every piece of paper in place and giving the surface its final depth and shine. A torch is passed over the wet resin to eliminate air bubbles, ensuring a flawless, glass-like finish that will hold up for years.
The print process
-
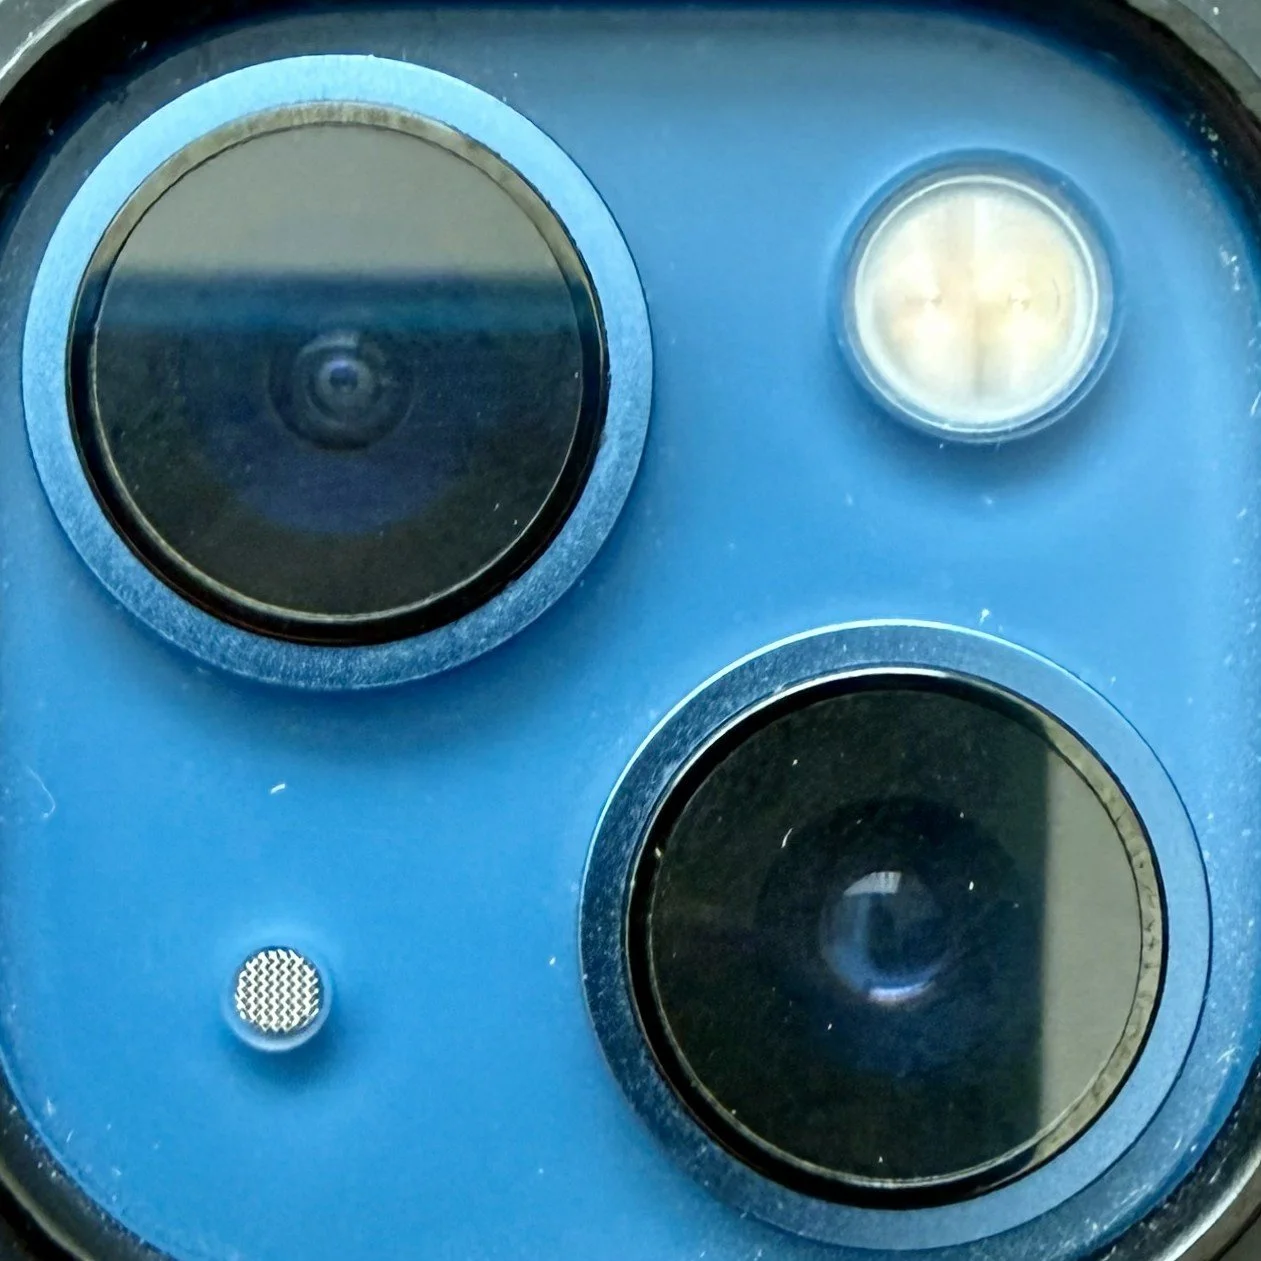
Capture the original
Every print begins with a high-resolution reference photo of the finished collage, shot in 48MP RAW format to preserve maximum detail and true color from the start. Because the finished piece is sealed under epoxy resin, lighting is controlled carefully during this stage to eliminate glare and reflection.
-
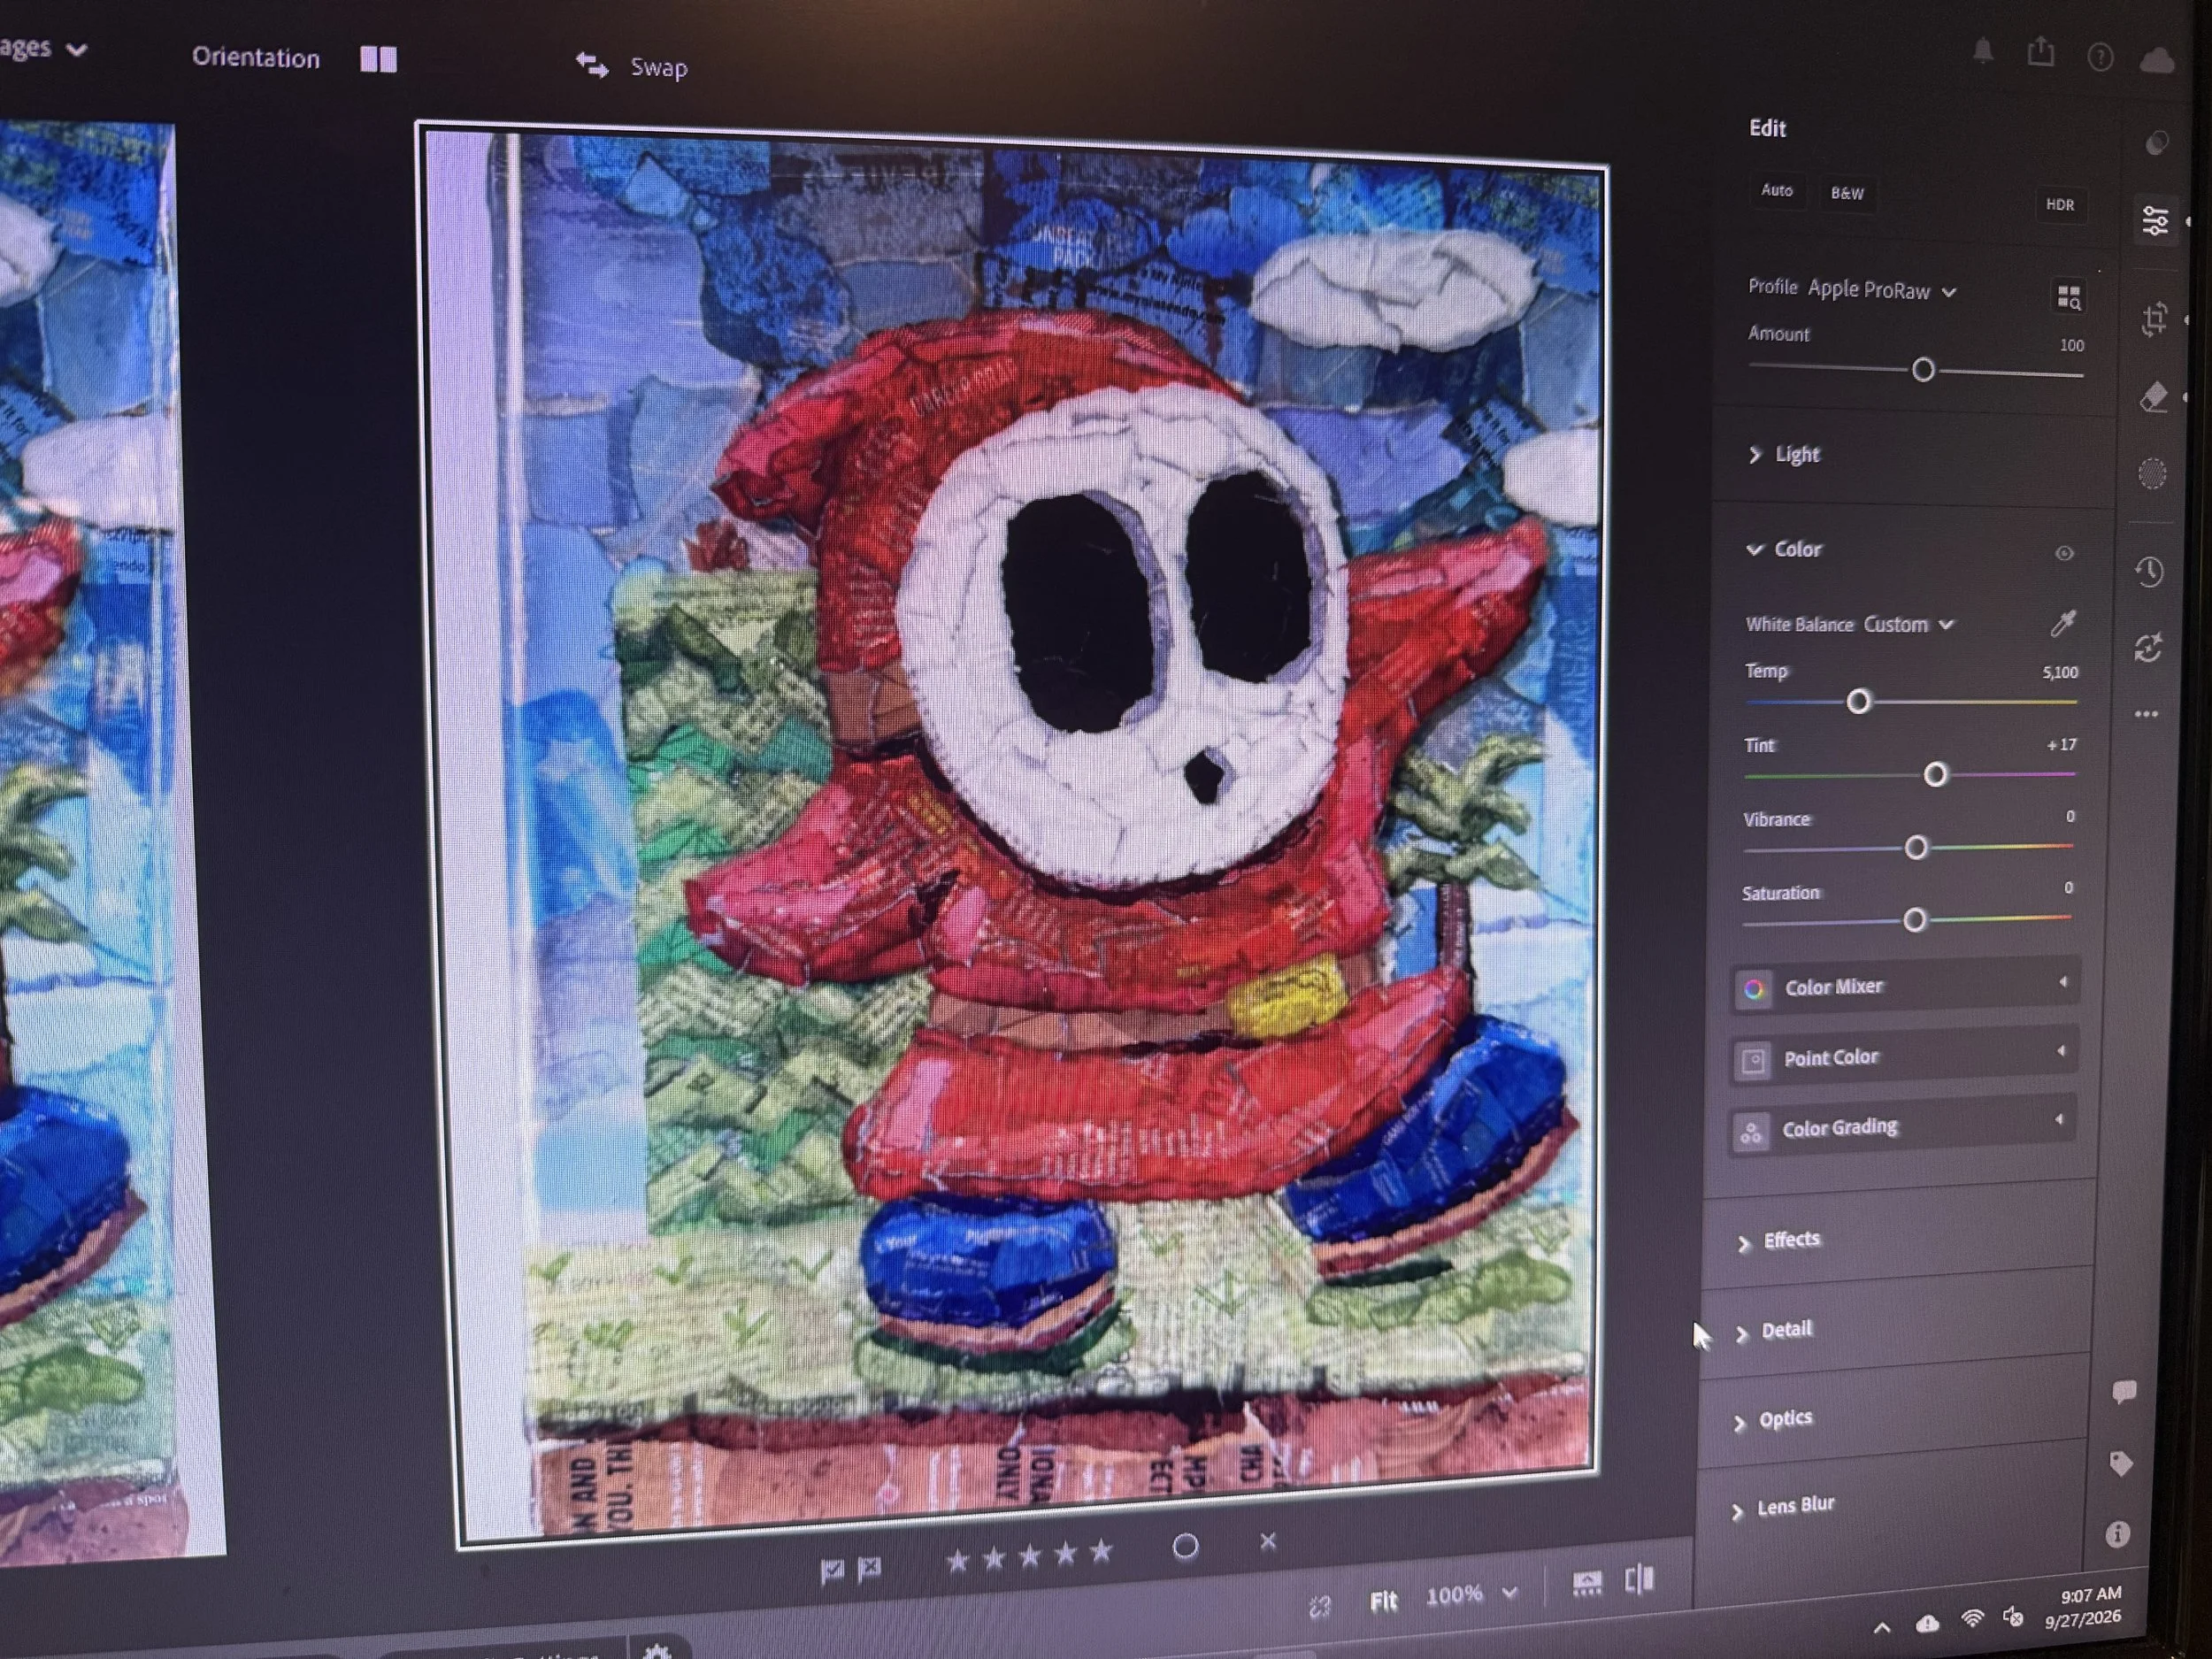
Edit and refine
From a set of reference shots, the strongest image is selected - free of glare, dust, or distraction - and brought into Lightroom for digital refinement. Cropping is adjusted to frame the piece precisely, and color balance is corrected to ensure the print matches the true tones of the original collage as closely as possible.
-
Print on archival fine art paper
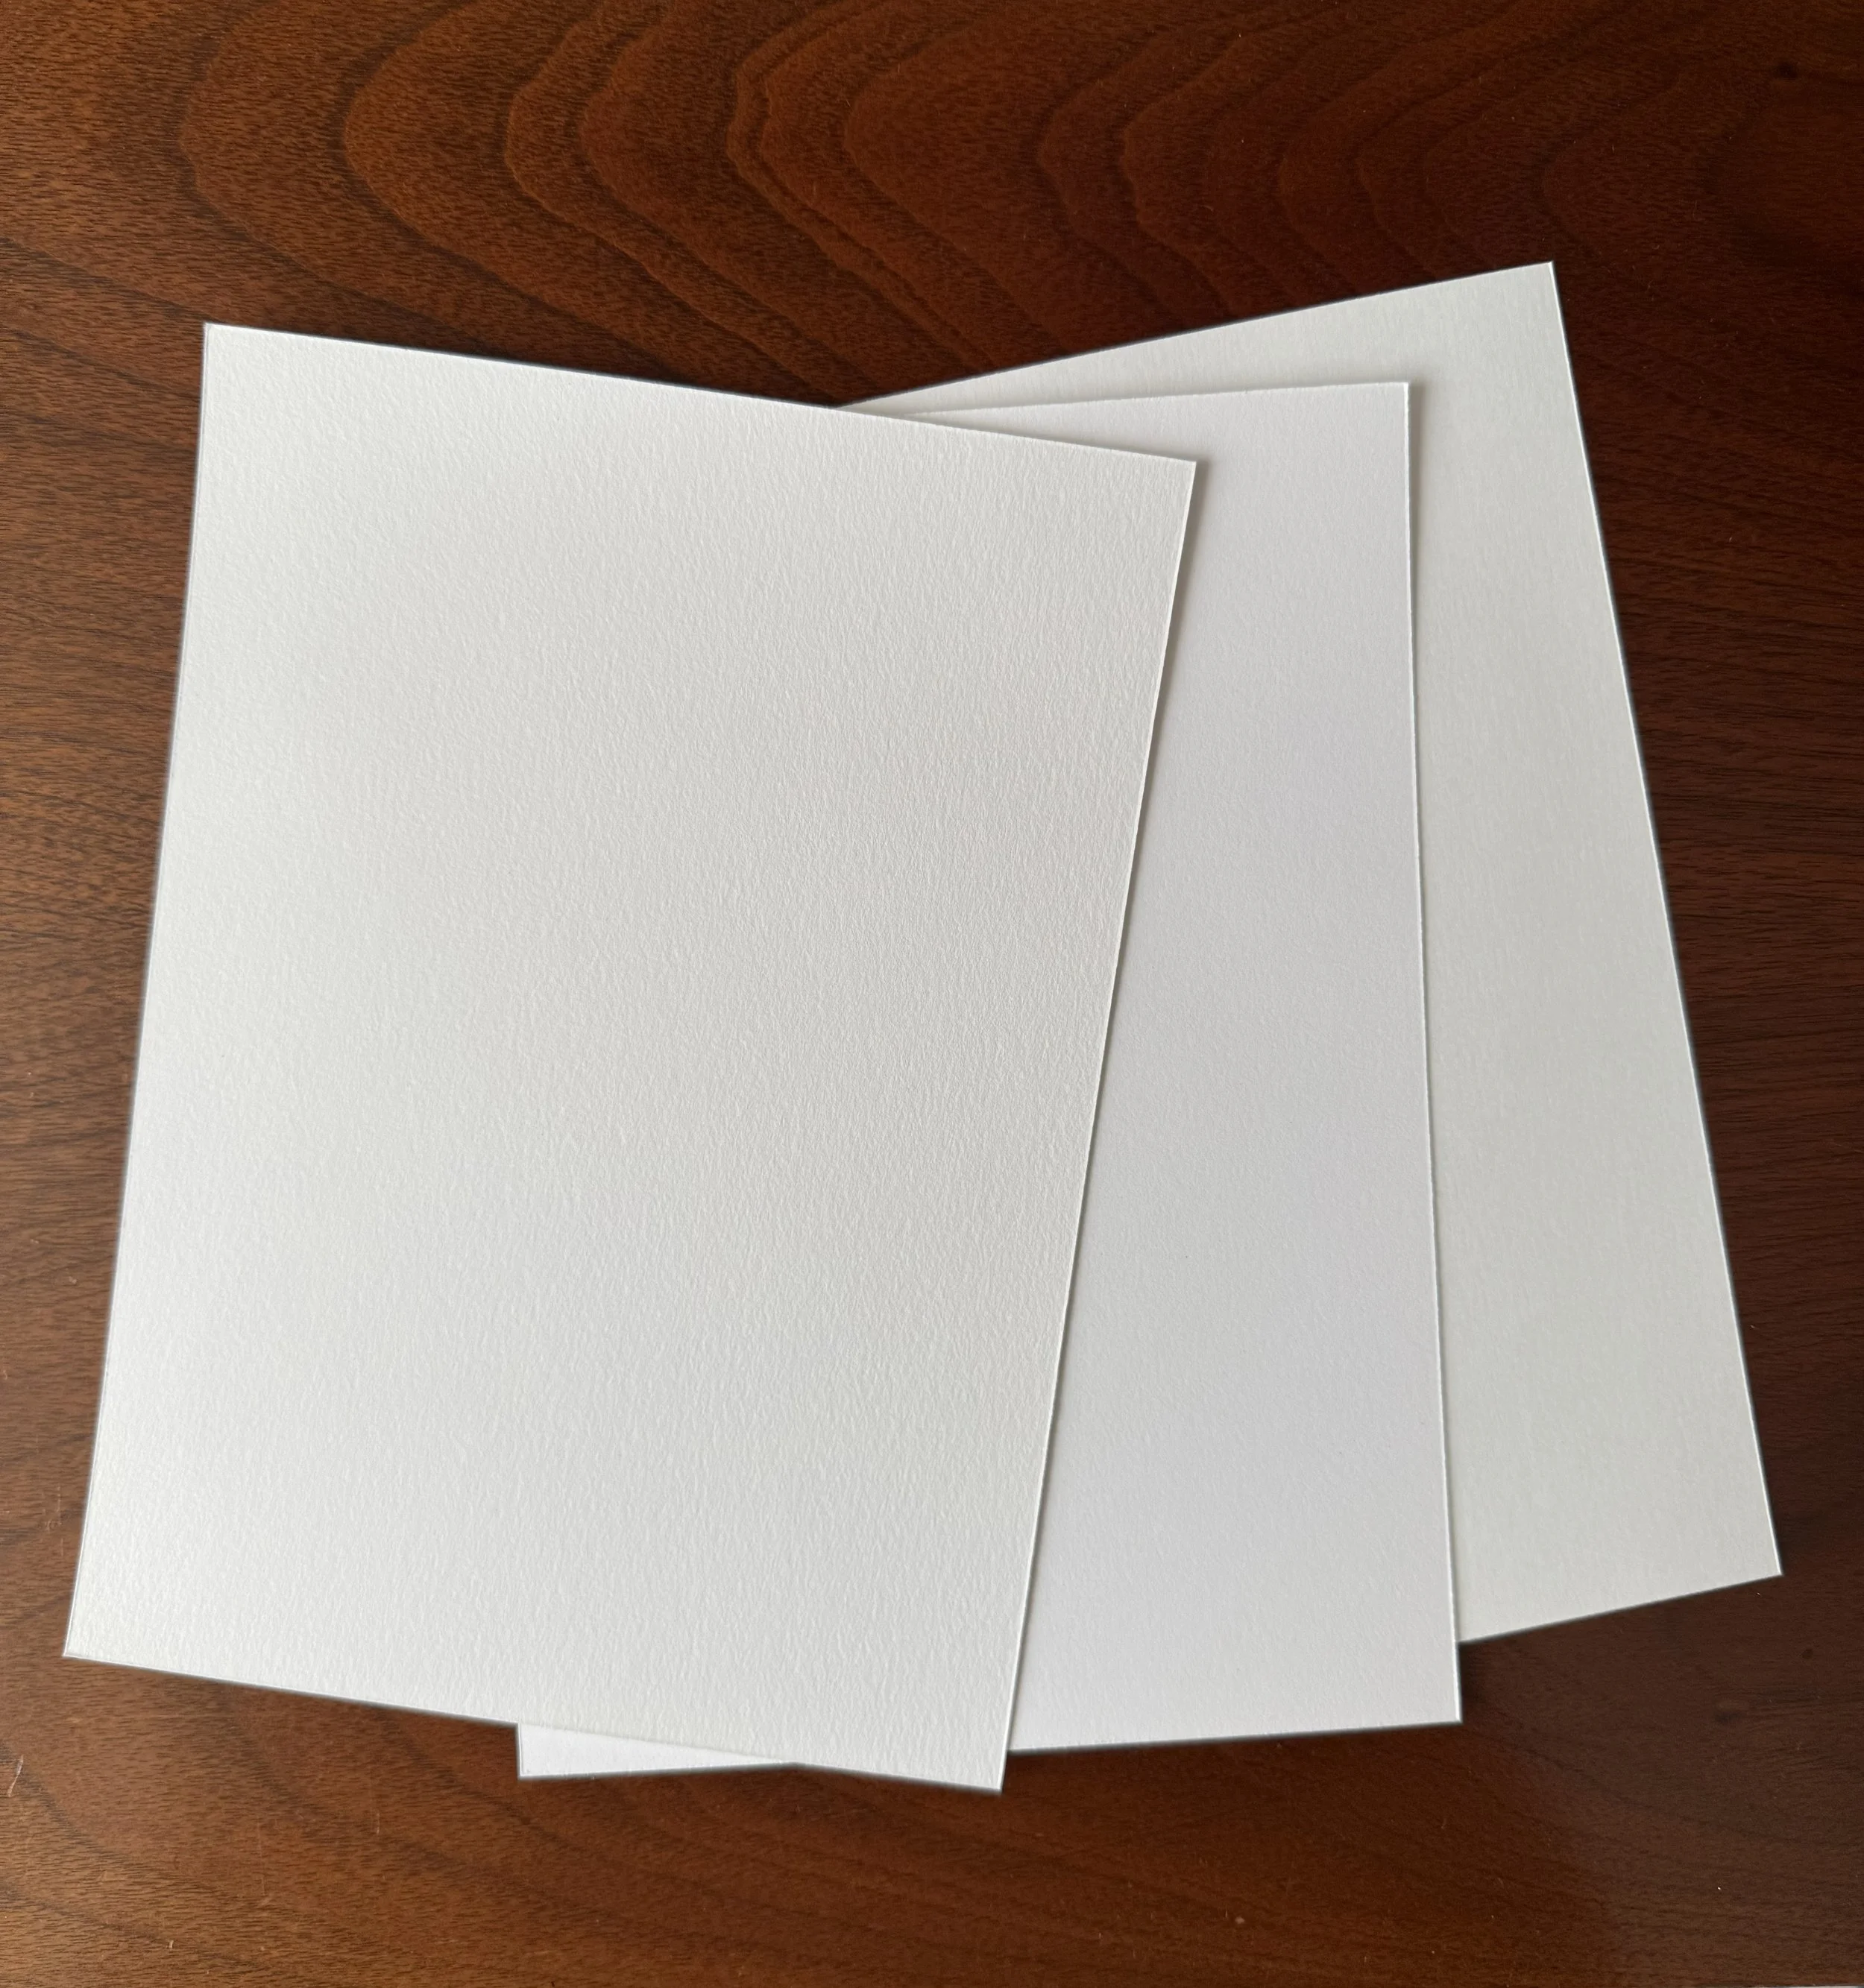
Every print is produced on heavyweight fine art stock, with a smooth, clean finish and natural white tone. A matte surface removes glare, enhancing highlight and tonal detail. Printing is done using Giclée technology - used by museums and galleries worldwide - with pigment-based archival inks that deliver long-lasting brilliance that resists fading indoors for decades.
-
Test and verify
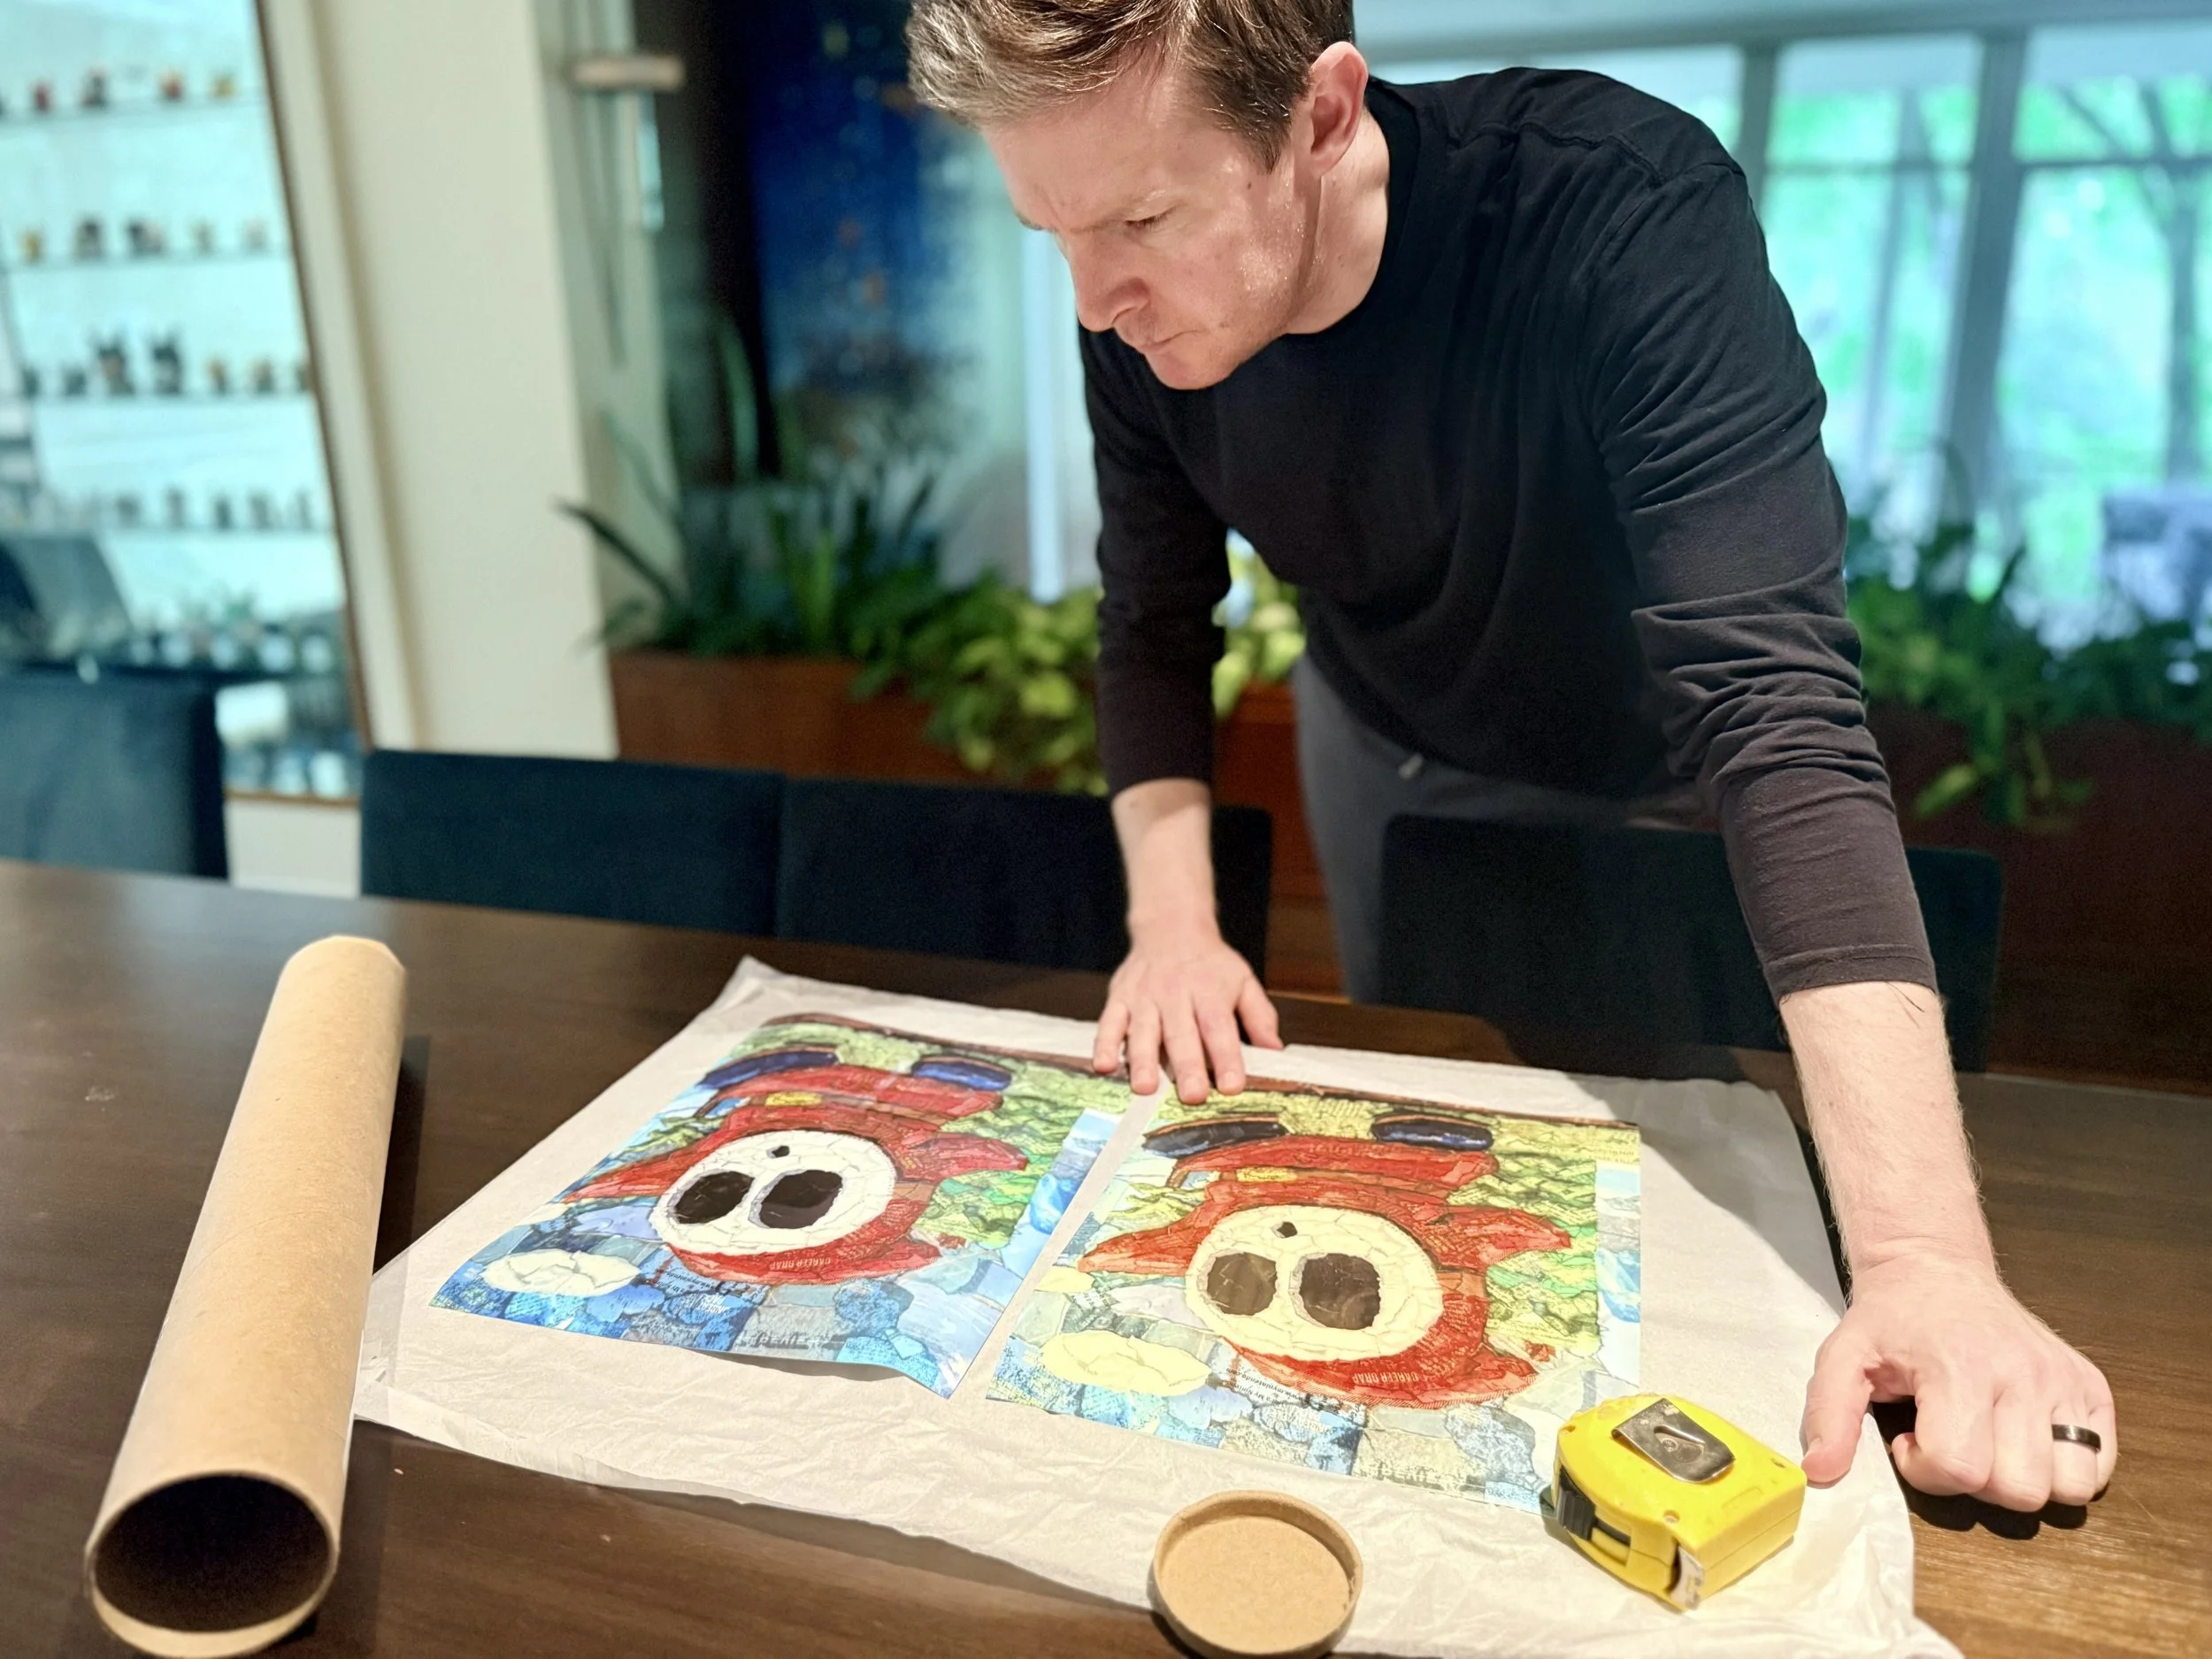
Before any print is approved for sale, a test print is produced and checked closely against the original piece - confirming that cropping, color accuracy, and overall print quality faithfully represent the collage as it was made. Only once a print passes that comparison is it considered ready to ship.
Check out more work-in-progress on Instagram